/Lawcode%20Logo%20(White).svg)
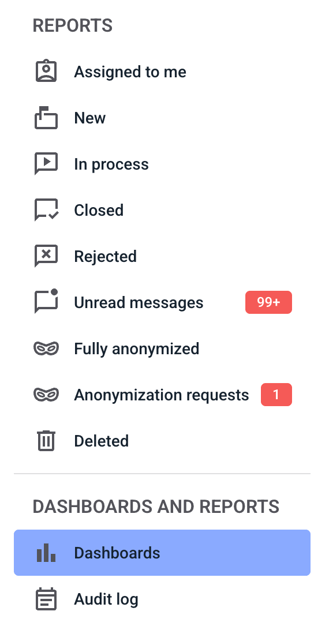
To create a new filter for the dashboards, first click on Dashboards.
Now click on the filter button.

A new window will open.

Leave the existing entry in Select filter group untouched, as this will lead you to create a new filter.

Enter a name for your new filter.

There are now several options available. There are two different types of filters:
The AND filter and the OR filter.
For example:
If you use an AND filter, you can search for a specific client AND the status New. This will return all results that belong to the selected client and have the status New.
If, on the other hand, you use the OR filter for the same example, you can search for a client OR the status New.
The two methods are explained below.
Method 1: Create an AND filter.
To create an AND filter, click Add condition.

Click on the drop-down menu of the When filter.

Now select a condition of your choice from the drop-down menu. New options will open up.

On the left, you will see your selected condition. In the middle, where it says “equals,” different entries may be possible in some cases. It depends on the first criterion in the row.
Now select the organization unit of your choice from the drop-down menu on the right.

You have now saved a condition. For each additional condition you save, an AND will be displayed at the beginning of the line. You can now create this filter, or you can filter for additional AND conditions.

Method 2: Create an OR filter
Instead of adding a condition directly to the filter, first click on Add filter.

Two new fields appear.

Firstly, you will see that a new OR filter has been added.
You can now add conditions to Filter 0 or Filter 1. By clicking on the filter, you can decide which filter you want to add conditions to. Everything you add as a condition within the filter is seen by the hint box as an AND filter. If you add a condition to Filter 1 and also to Filter 0, it is considered an OR filter.
Finally, confirm the new filter by clicking the Create button.

In the overview, you can now see that your filter has been created and automatically selected.

Important tip:
The graphic reporting above the filters is always based on the currently set filters. All diagrams only show the results that the set filters have produced.