How can I create an area?
In this chapter we will explain how to create an area.
You can create as many areas as you like in the Hintbox. However, these only become visible on the start page when you create a public form is deposited.
To create an area, click in the Form management.
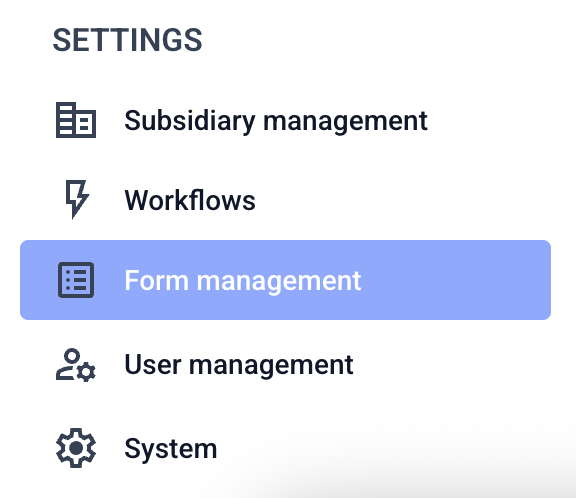
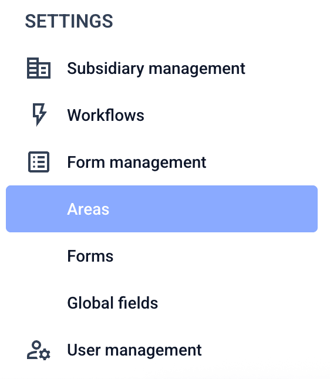
Click on Areas there.
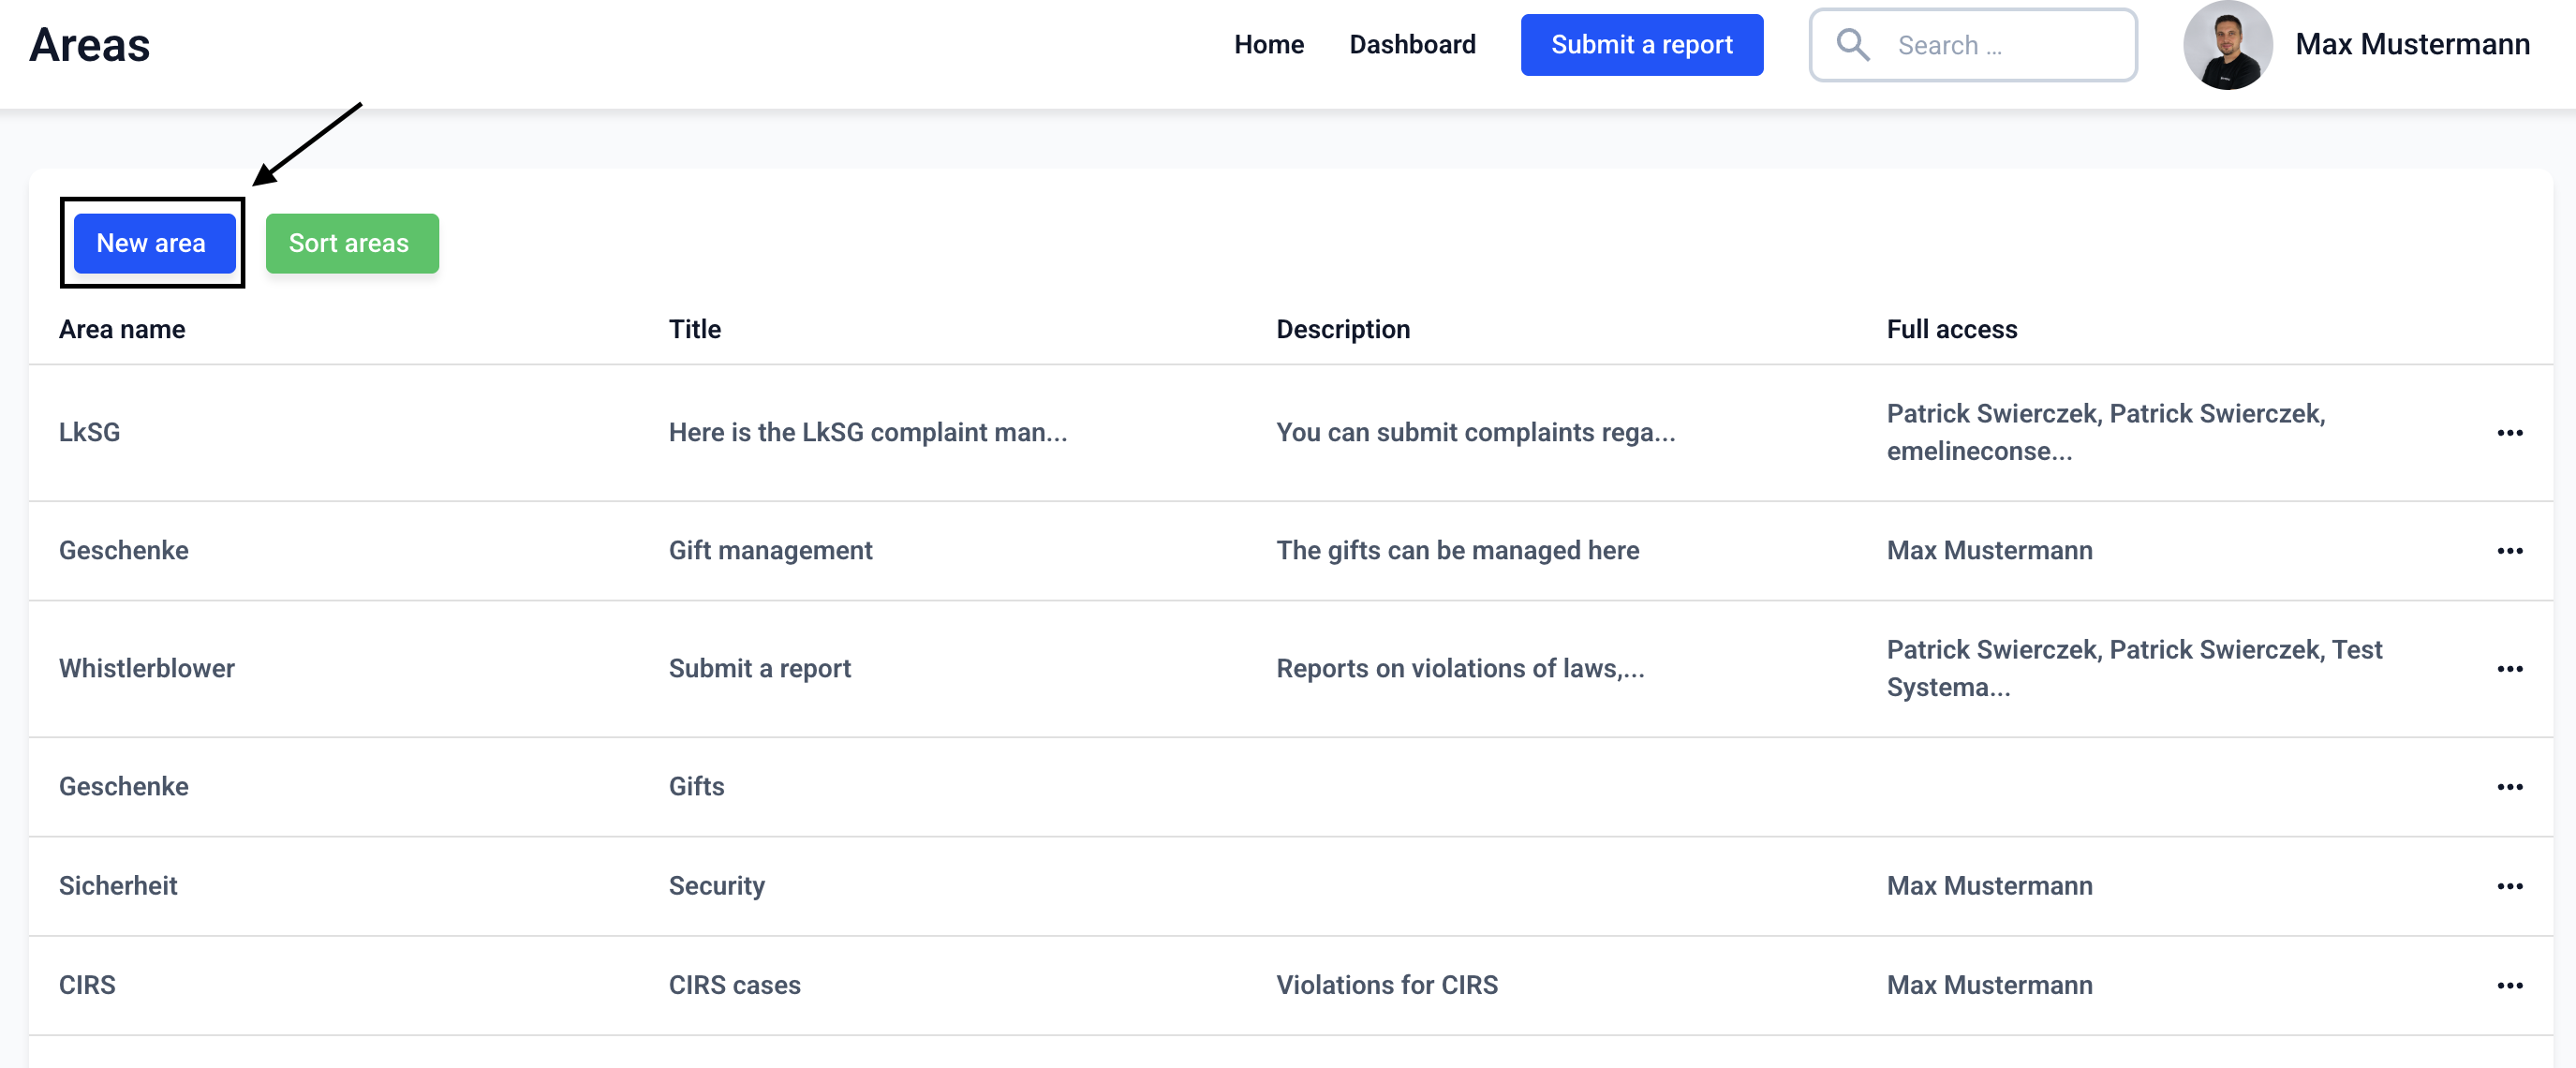
An overview of all previously created areas opens. You can create, edit, delete and sort areas.
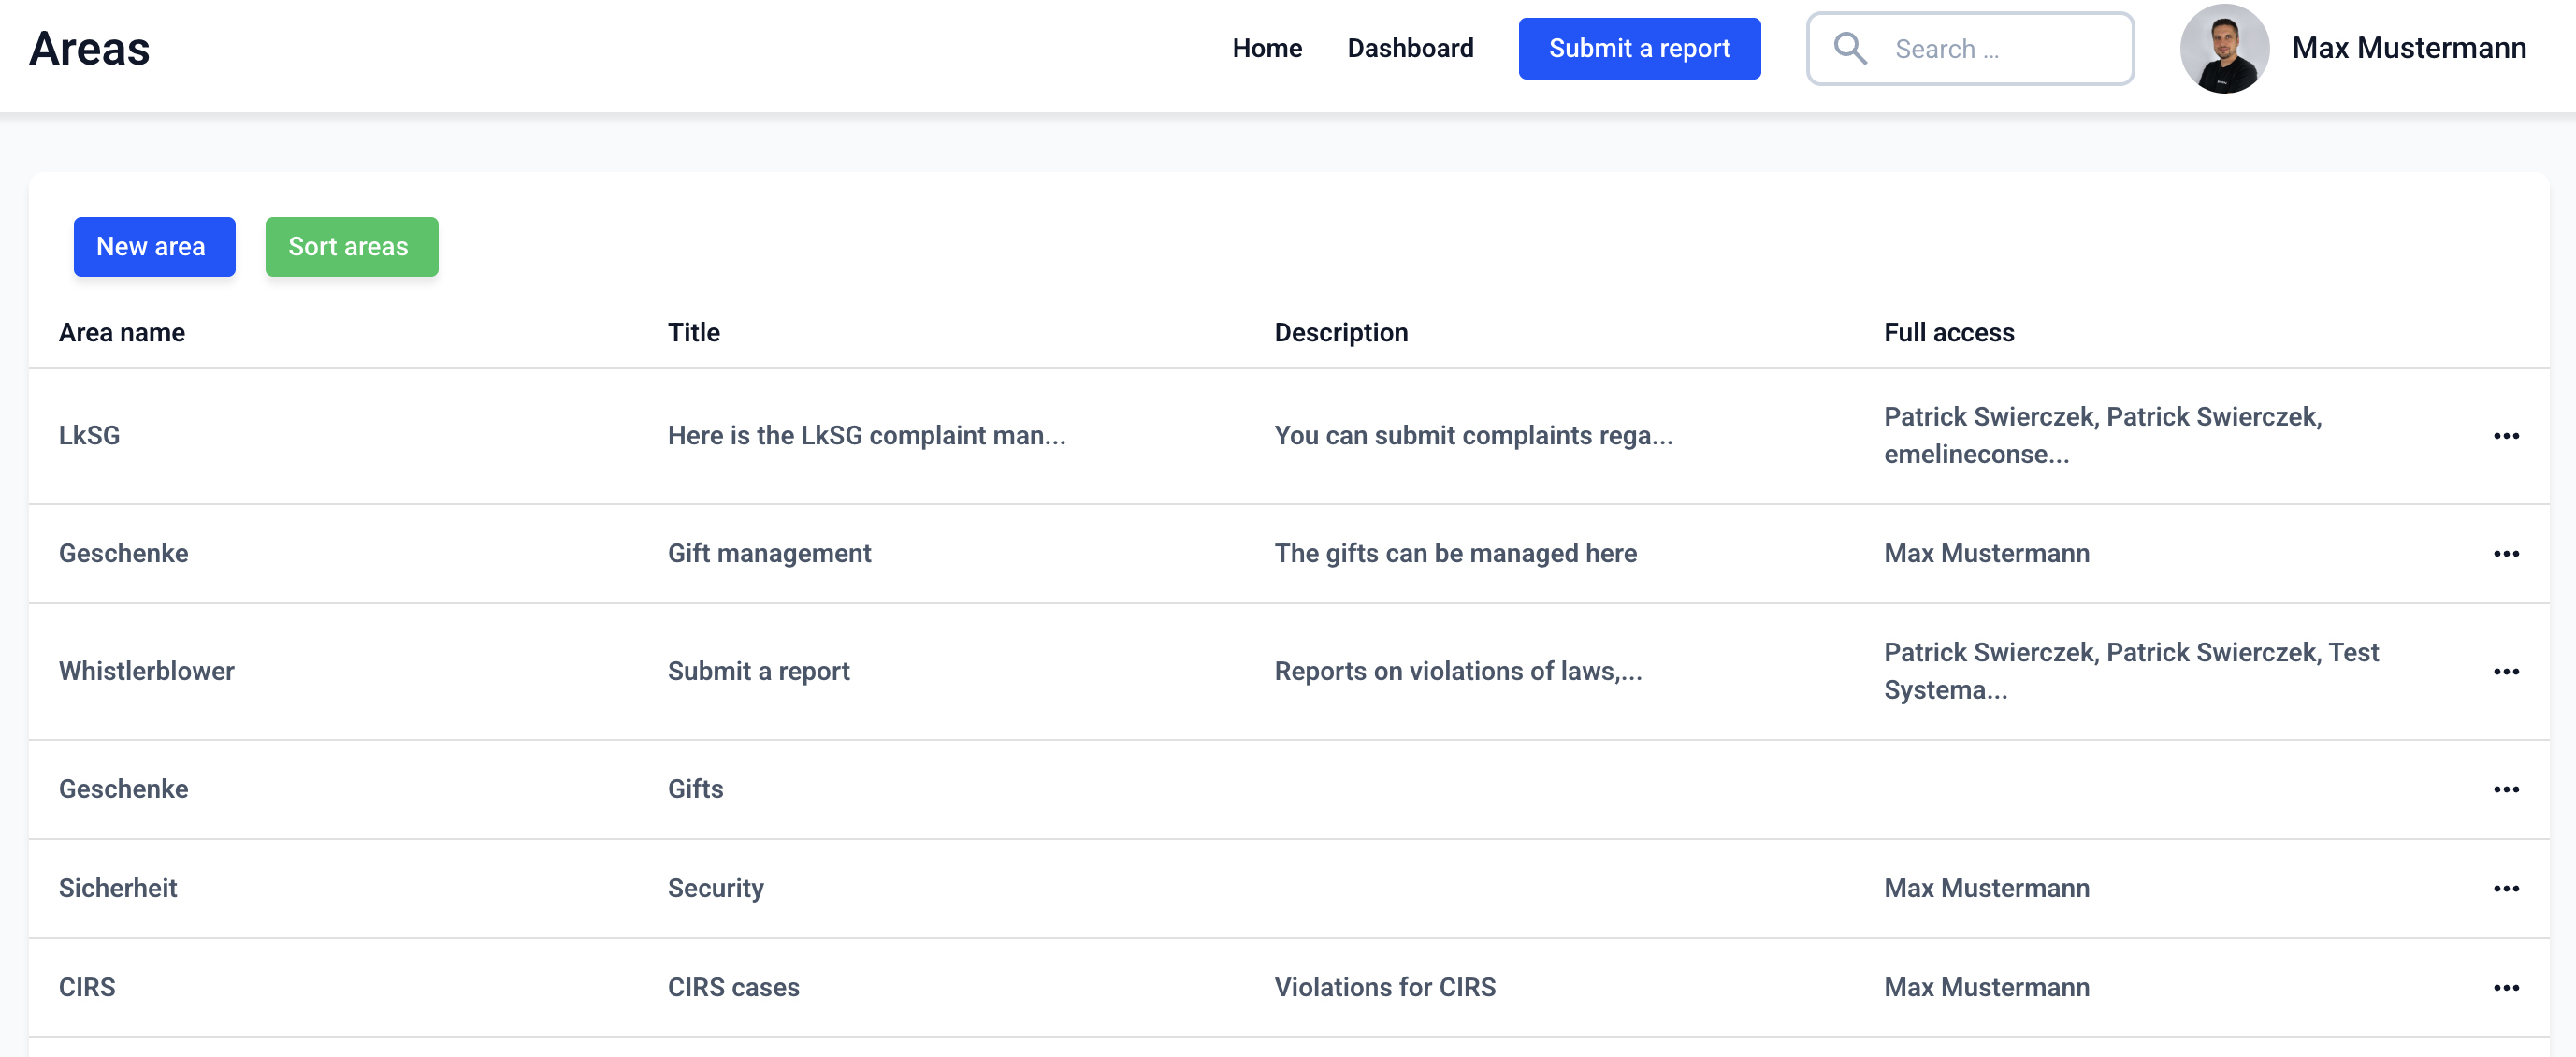
Click on New area.
To create an area you need the following information:
Area name: The area name is visible internally and should be understandable for all administrators.
Title: The title labels the button with which the whistleblower is forwarded to the corresponding form on the start page.
Description: The description will only be displayed if a logo is added.. The description also appears on the button with which the whistleblower is forwarded to the corresponding form on the start page.
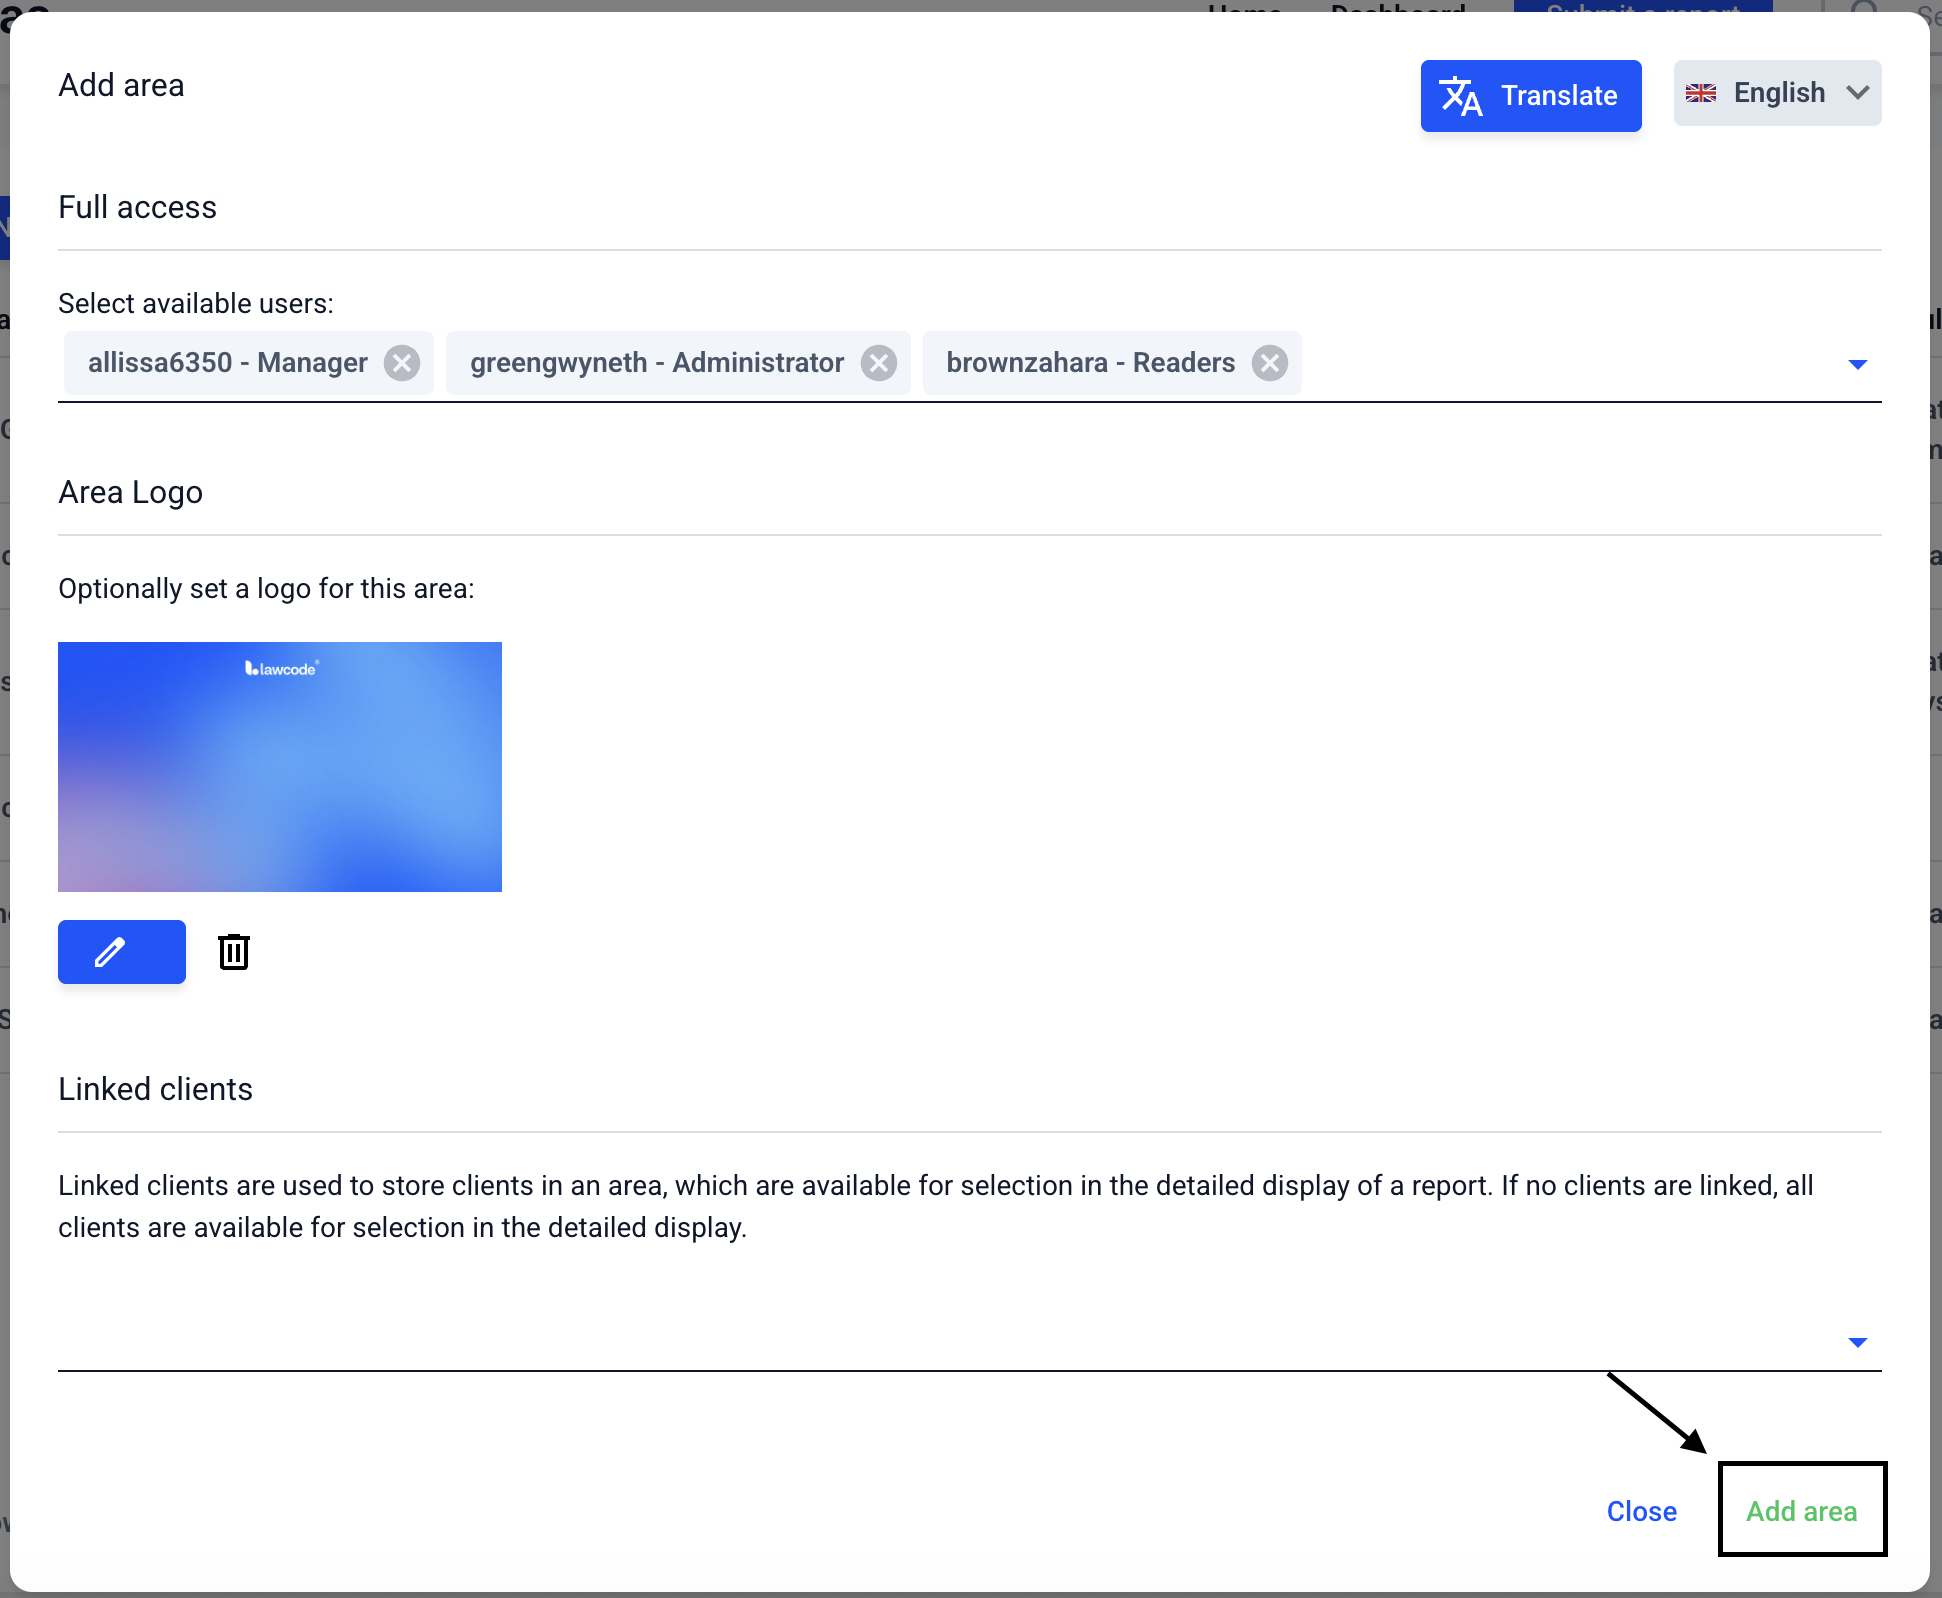
Full access: All users who should have access to reports in the area should be selected for full access.
Area logo: The logo is optional. It also appears on the button that redirects the whistleblower to the corresponding form on the homepage.
Linked clients: Linked clients are used to add clients to an area, which are available for selection in the detailed display of a report. If no clients are linked, all clients are available for selection in the detailed display.
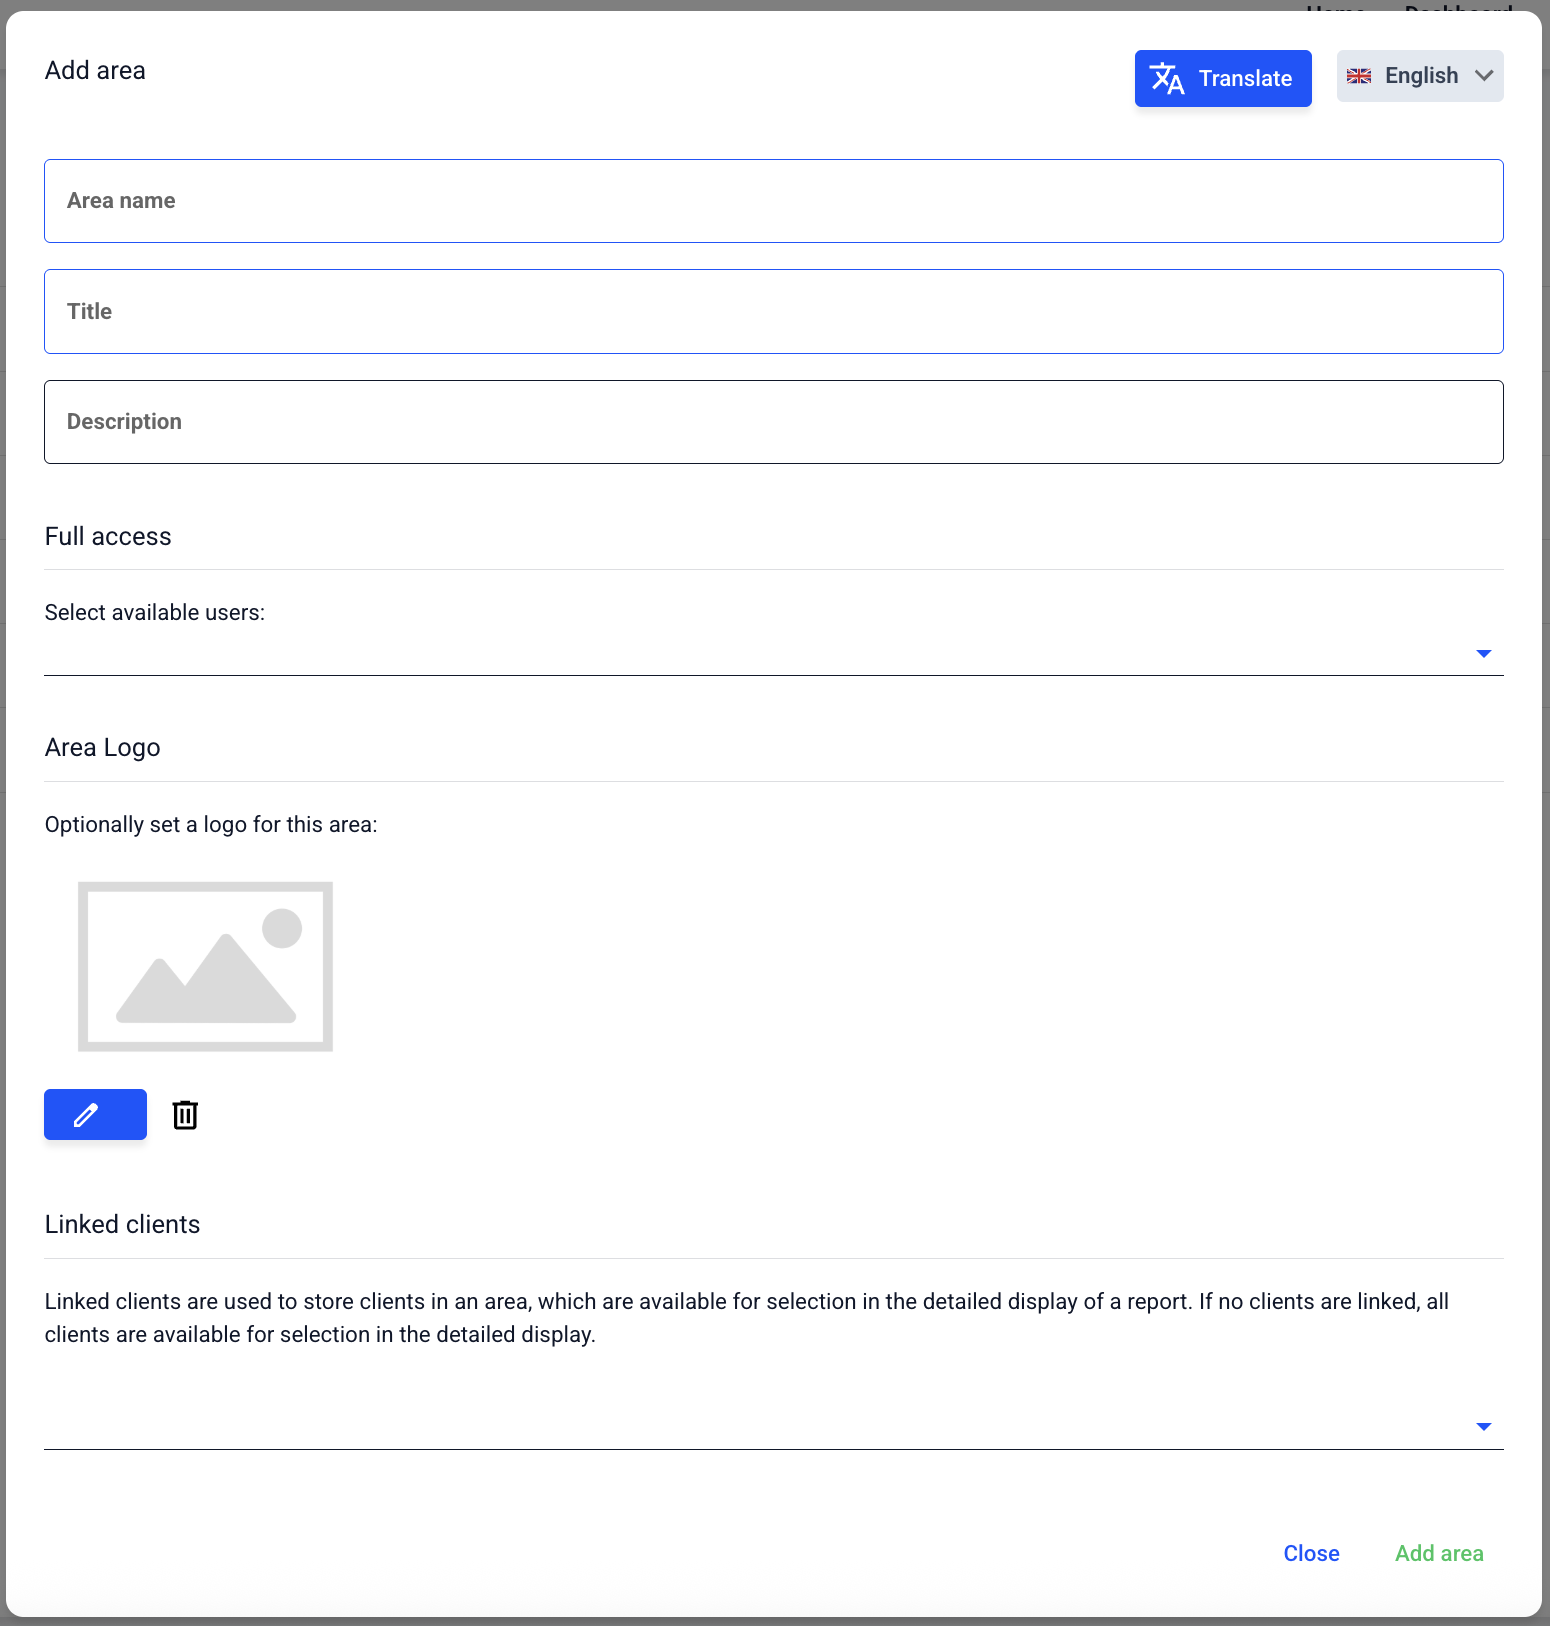
When you have entered all the information, click on Add area.
If you offer more languages in your Hintbox, first click on Translate. How do I translate areas?
