/Lawcode%20Logo%20(White).svg)
- Click on New User and enter all the details manually.
- Click on a role (Administrator, Manager, Reader, or System Administrator) and the predefined permissions for that role will be set automatically.
First, we will explain the manual method.
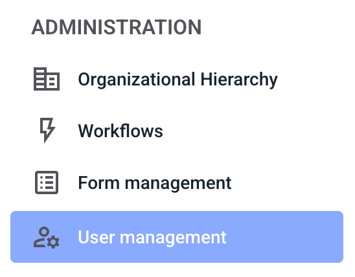
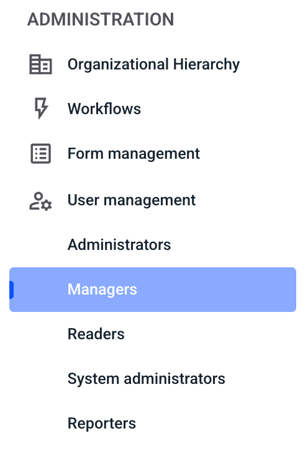
To create a new user, first click on User Management.
Now click on Create user.

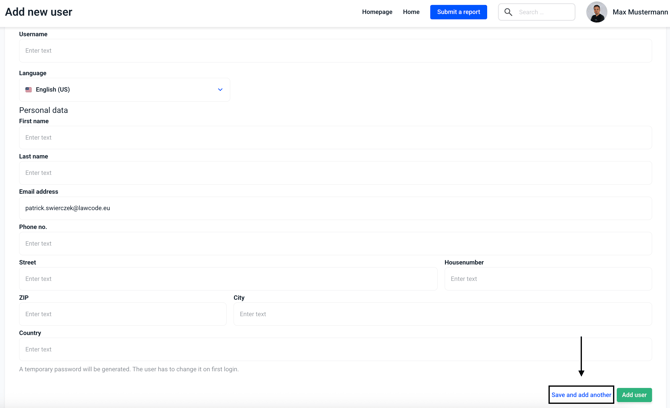
A form opens in which various information must be entered (mandatory fields marked with an asterisk).

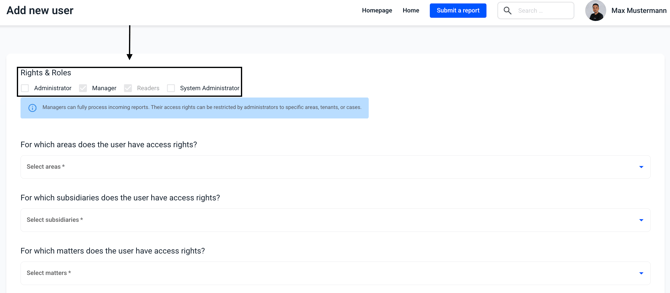
Rights & Roles - First, the role must be selected.
Access rights area - for the roles of reader and manager it is possible to select the areas to whose reports the user should have access.
Subsidiary access rights - In the case of the Reader and Manager roles, it is possible to select the subsidiaries to whose reports the user should have access.
Access rights matters - in the roles of reader and manager, it is possible to select the matter to whose reports the user should have access.
User name - The user name can either be assigned or is automatically generated from the e-mail address after the user is created.
Language - setting the language profile ensures that the invitation e-mail to the system is sent in the selected language on the one hand, and that the hintbox for the user is displayed in this language on the other hand.
E-mail address - The invitation e-mail and all other system e-mails are sent to the specified e-mail address and the user logs in to the system with it.
Personal data - only the first and last name is visible to the whistleblower in the message history (if not specified, the username is displayed).
The following describes how to create a user.
By clicking on the respective checkbox on the roles, you can add a role. For readers and managers, the following three fields must be selected.
 By clicking in the Select areas field you can select the areas to which the user should have access.
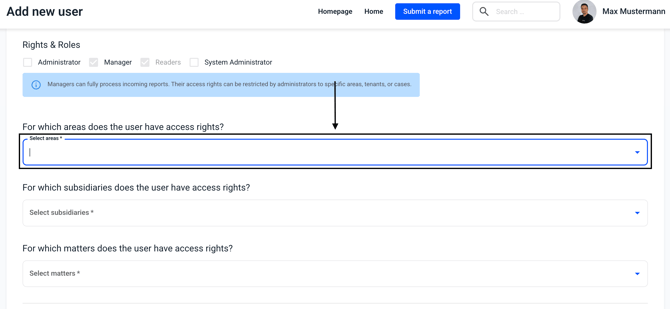
Clicking on the corresponding areas will add them to the user.

By clicking in the Select subsidiary field, the subsidiaries to which the user should have access can be selected.
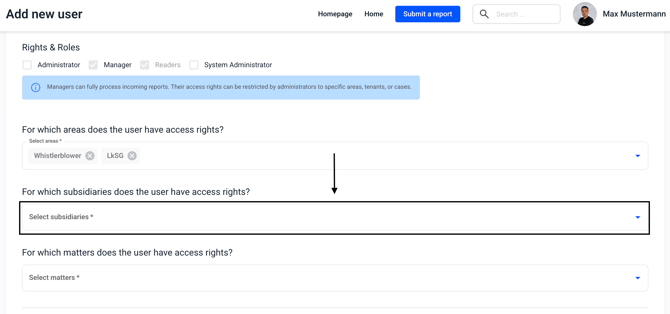
By clicking on the appropriate subsidiaries, they are added to the user.

By clicking in the Select matters field you can select the matters to which the user should have access.
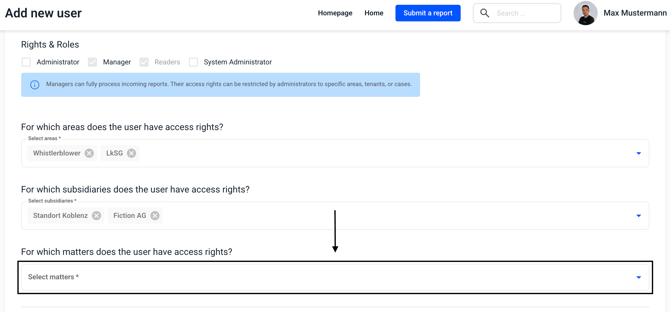
Clicking on the appropriate categories will add them to the user. Alternatively, you can click All selected and allow access to all categories at once.

The email address must be entered in the following fields, the rest of the information can be added.

If you do not want to create another user, click Add User.

If you want to create another user click Save and add another.
The second method is essentially the same, except that the roles are selected for you. Here is an example:
First, a role is selected, such as manager.
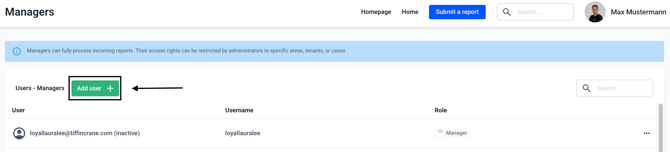
You will first see an overview of all users who have the role of manager. Now click on Add user to create another manager.
You will see the same menu, but the rights and roles are already predefined.
A new user is always initially displayed as inactive in the overview. An invitation email has been sent to the person, and as soon as the person has logged in for the first time via the link and assigned a password, the inactive display disappears.
For security reasons, the link in the email is only valid for 24 hours.
This article explains how to restore the new user's access to the reports.