/Lawcode%20Logo%20(White).svg)
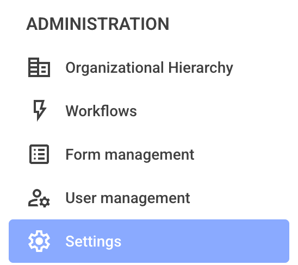
To add a consent dialog, first click on Settings in the administration.
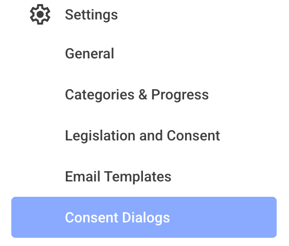
Now click on the Consent dialogs.
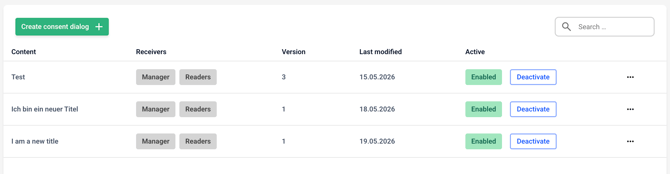
Now click Create consent dialog.

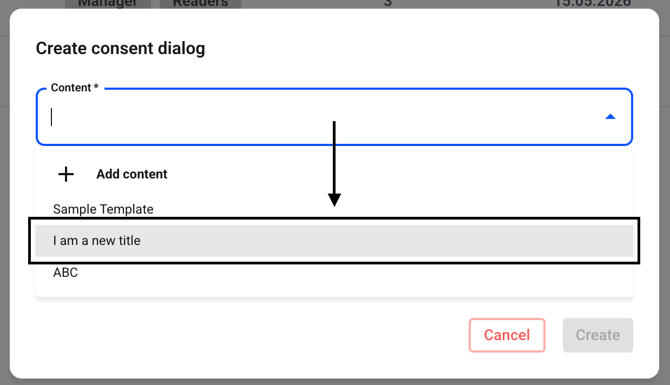
A new dialog box will open. Under Content, you can either select a template you created earlier (that is not currently in use) or create your own template for the consent dialog.
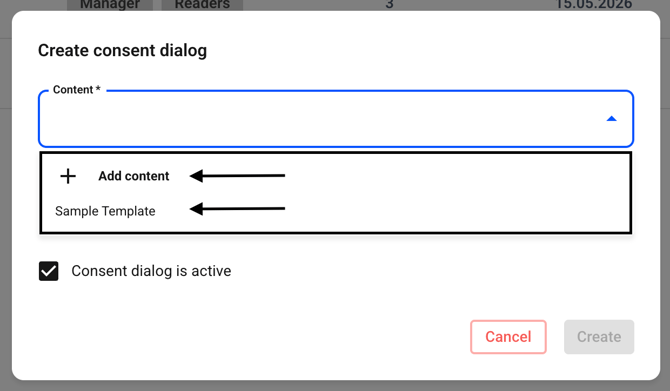
If you decide to create your own new template, click Add Content.
Enter a title. The type is automatically preset. Then click Continue.
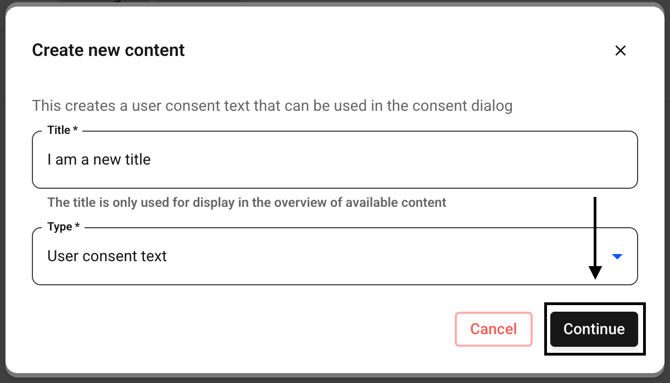
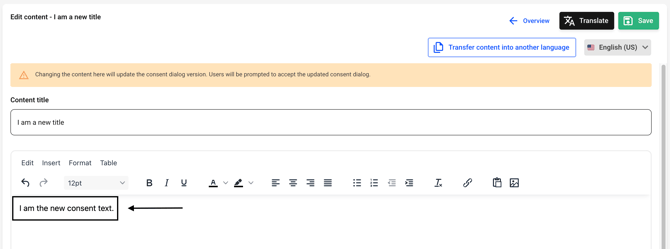
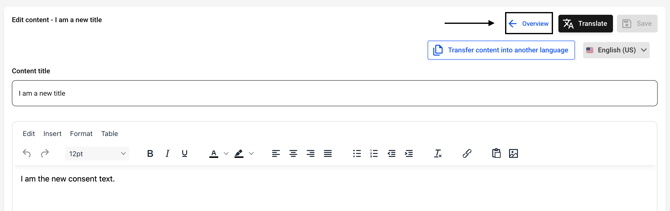
You can now enter the text you want to use for the consent dialog.
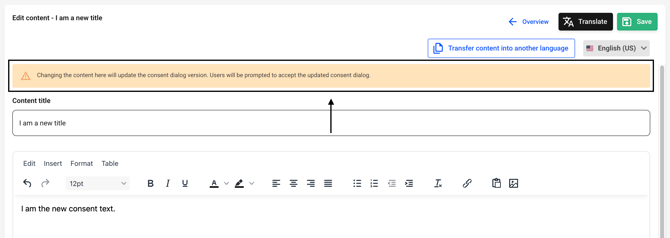
You will also receive a warning that changes require users to reconfirm.
You can now translate the text as usual. When you're done, click Save to confirm the changes.
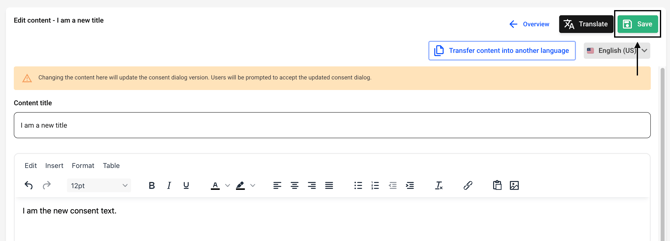
Now click on Overview.
Now click Create consent dialog again.
The newly created template is now available for use.
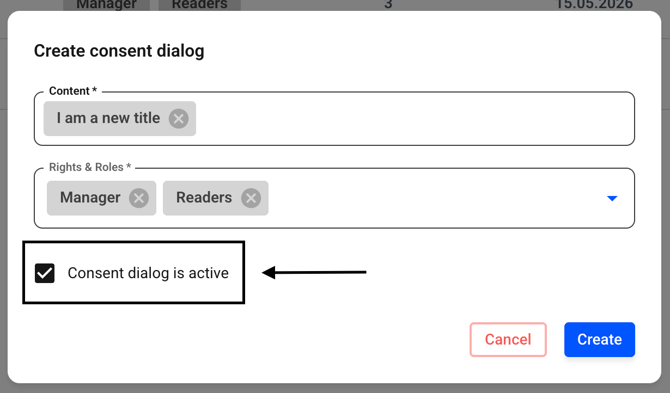
Under Rights & Roles, select which user roles must approve the dialogs. You can select one or more roles.
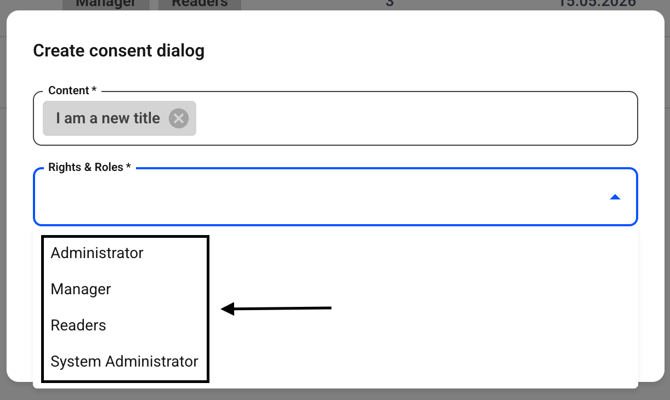
Select all the roles you want.
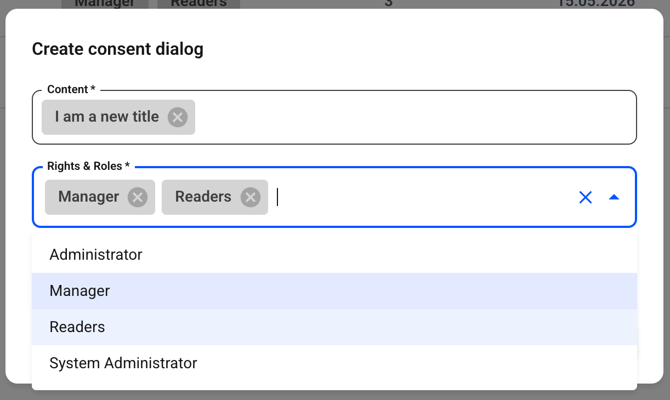
Now click on a blank area in the background to collapse the selection. You can now use the checkbox to decide whether the consent dialog should be active right away or created as inactive for now.
To activate the consent dialog, check the box next to Consent dialog is active.
Click Create now.
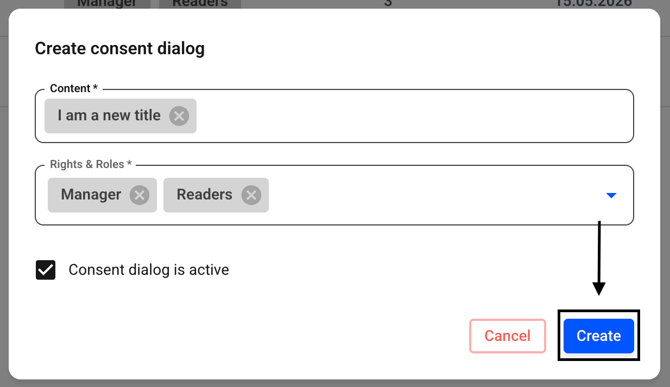
The new consent dialog box has been created.