/Lawcode%20Logo%20(White).svg)
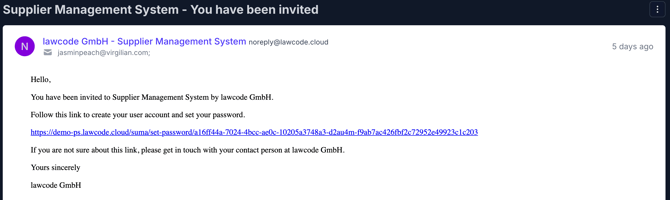
1. First, you will receive an invitation from your customer via email to use the platform.
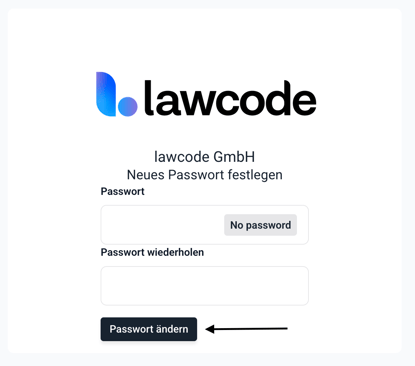
2. Open the link in the email and set your personal password. Confirm this by clicking the Change Password button.
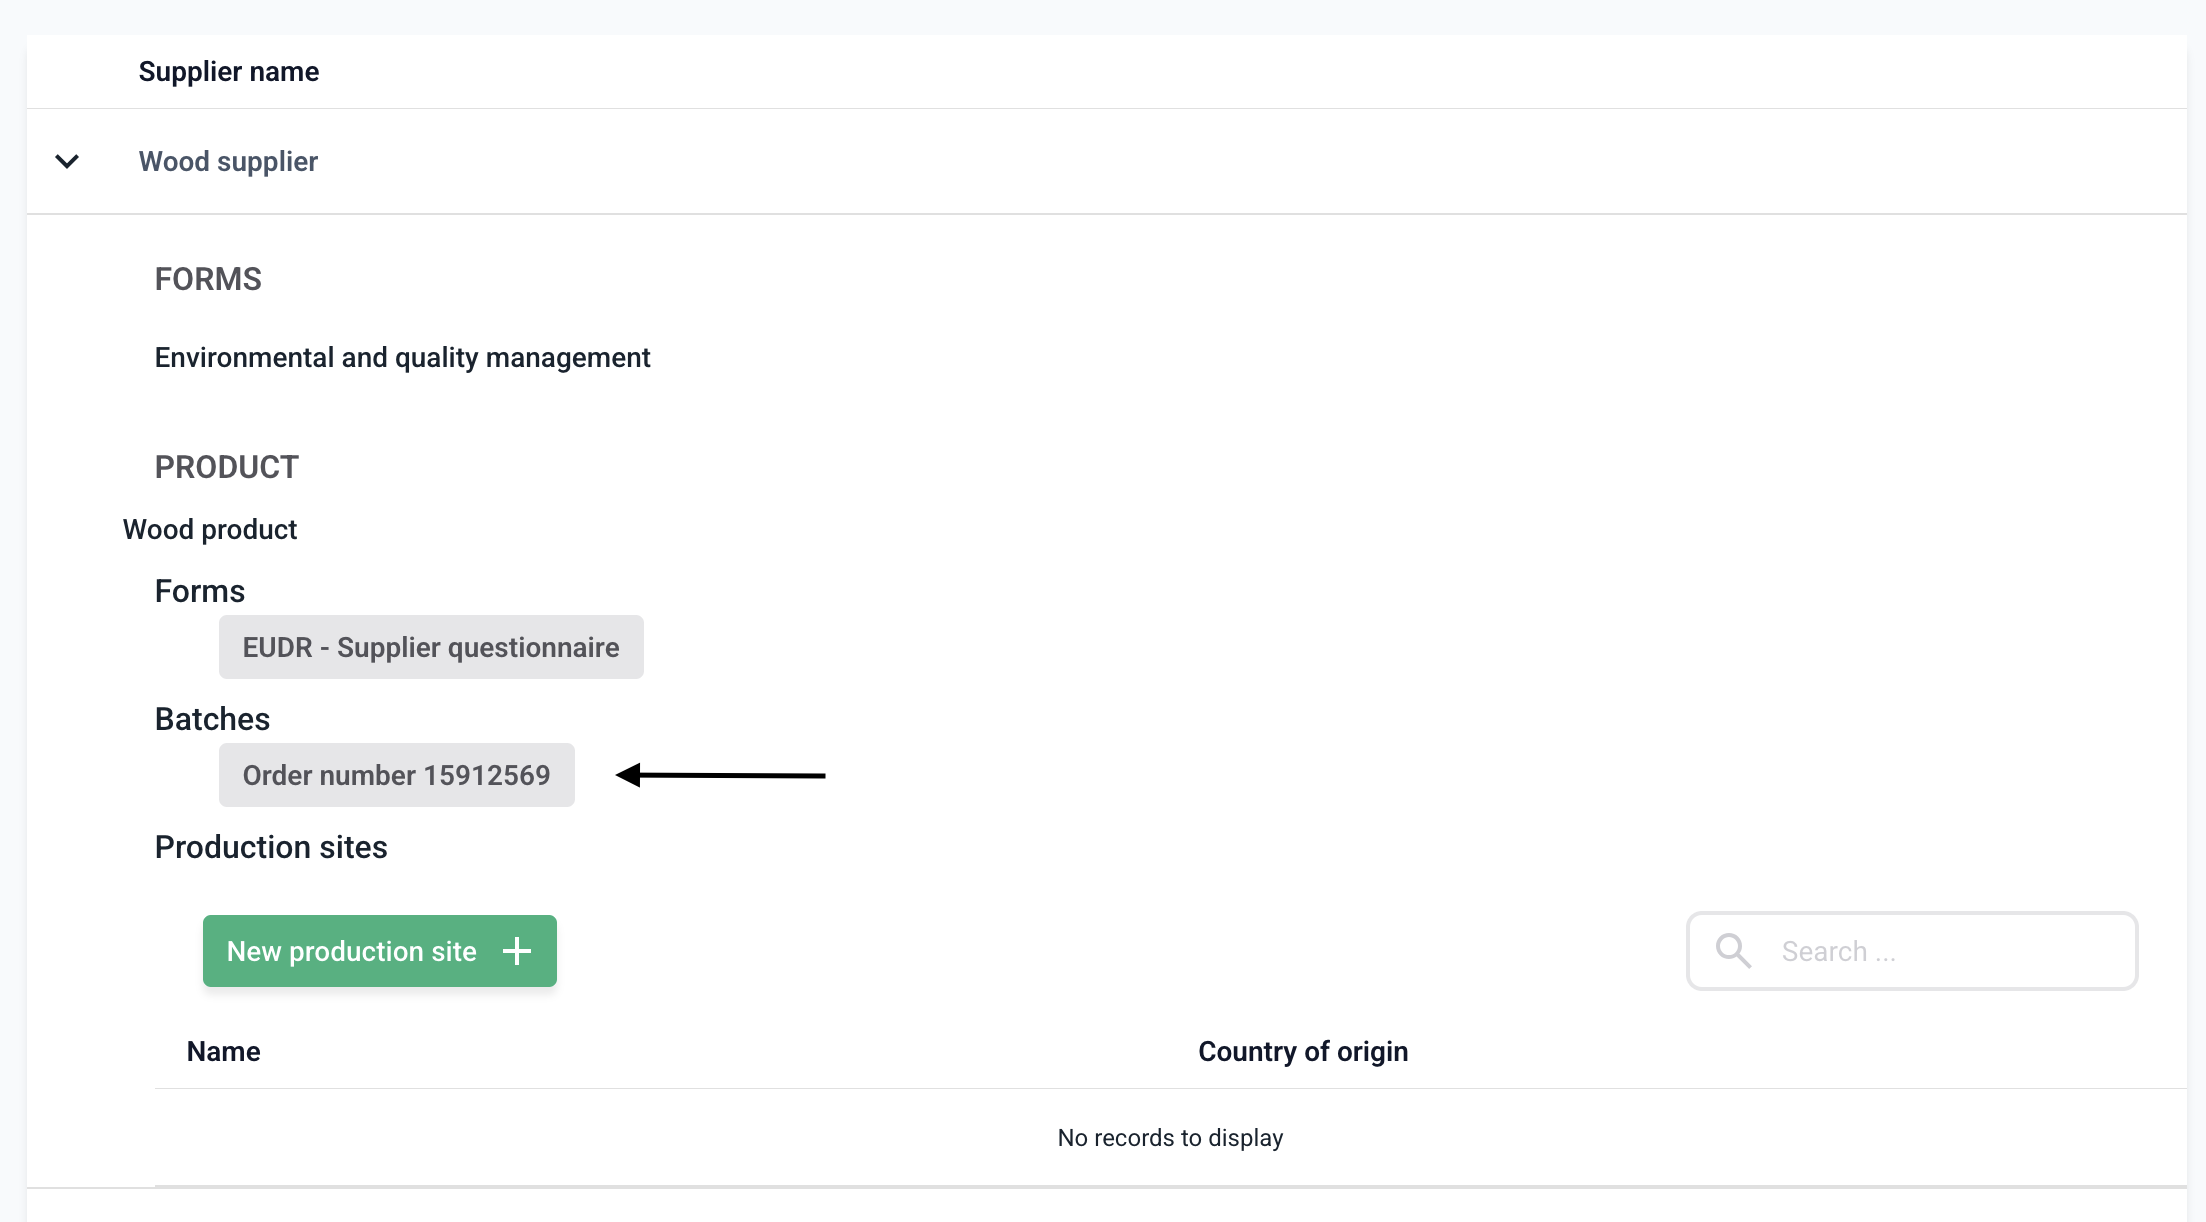
3. You can now see your supplier name, as batches, questionnaires, or products have been assigned to you by the customer.

4. To get a more detailed overview, click on the drop-down menu next to your supplier name.

You will receive an overview of everything that has been assigned to you by the customer.
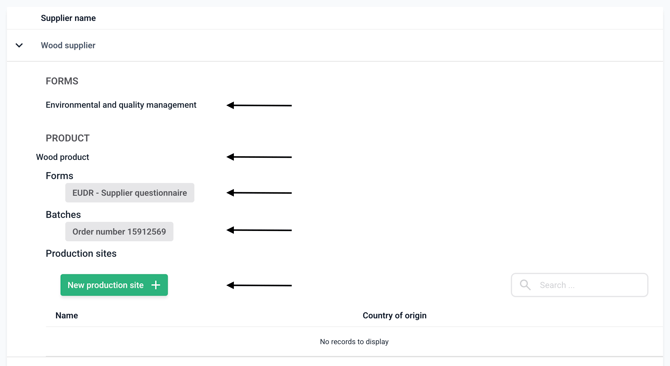
The following functions are available in the overview:
-
Filling out supplier-related questionnaires in accordance with the LkSG (Supply Chain Due Diligence Act)
-
Viewing the affected product (e.g., wood product)
-
Filling out EUDR-relevant questionnaires (e.g., EUDR-supplier questionnaire)
-
Processing batches (e.g., order number 1591...)
-
Creating a production site as a template for future use
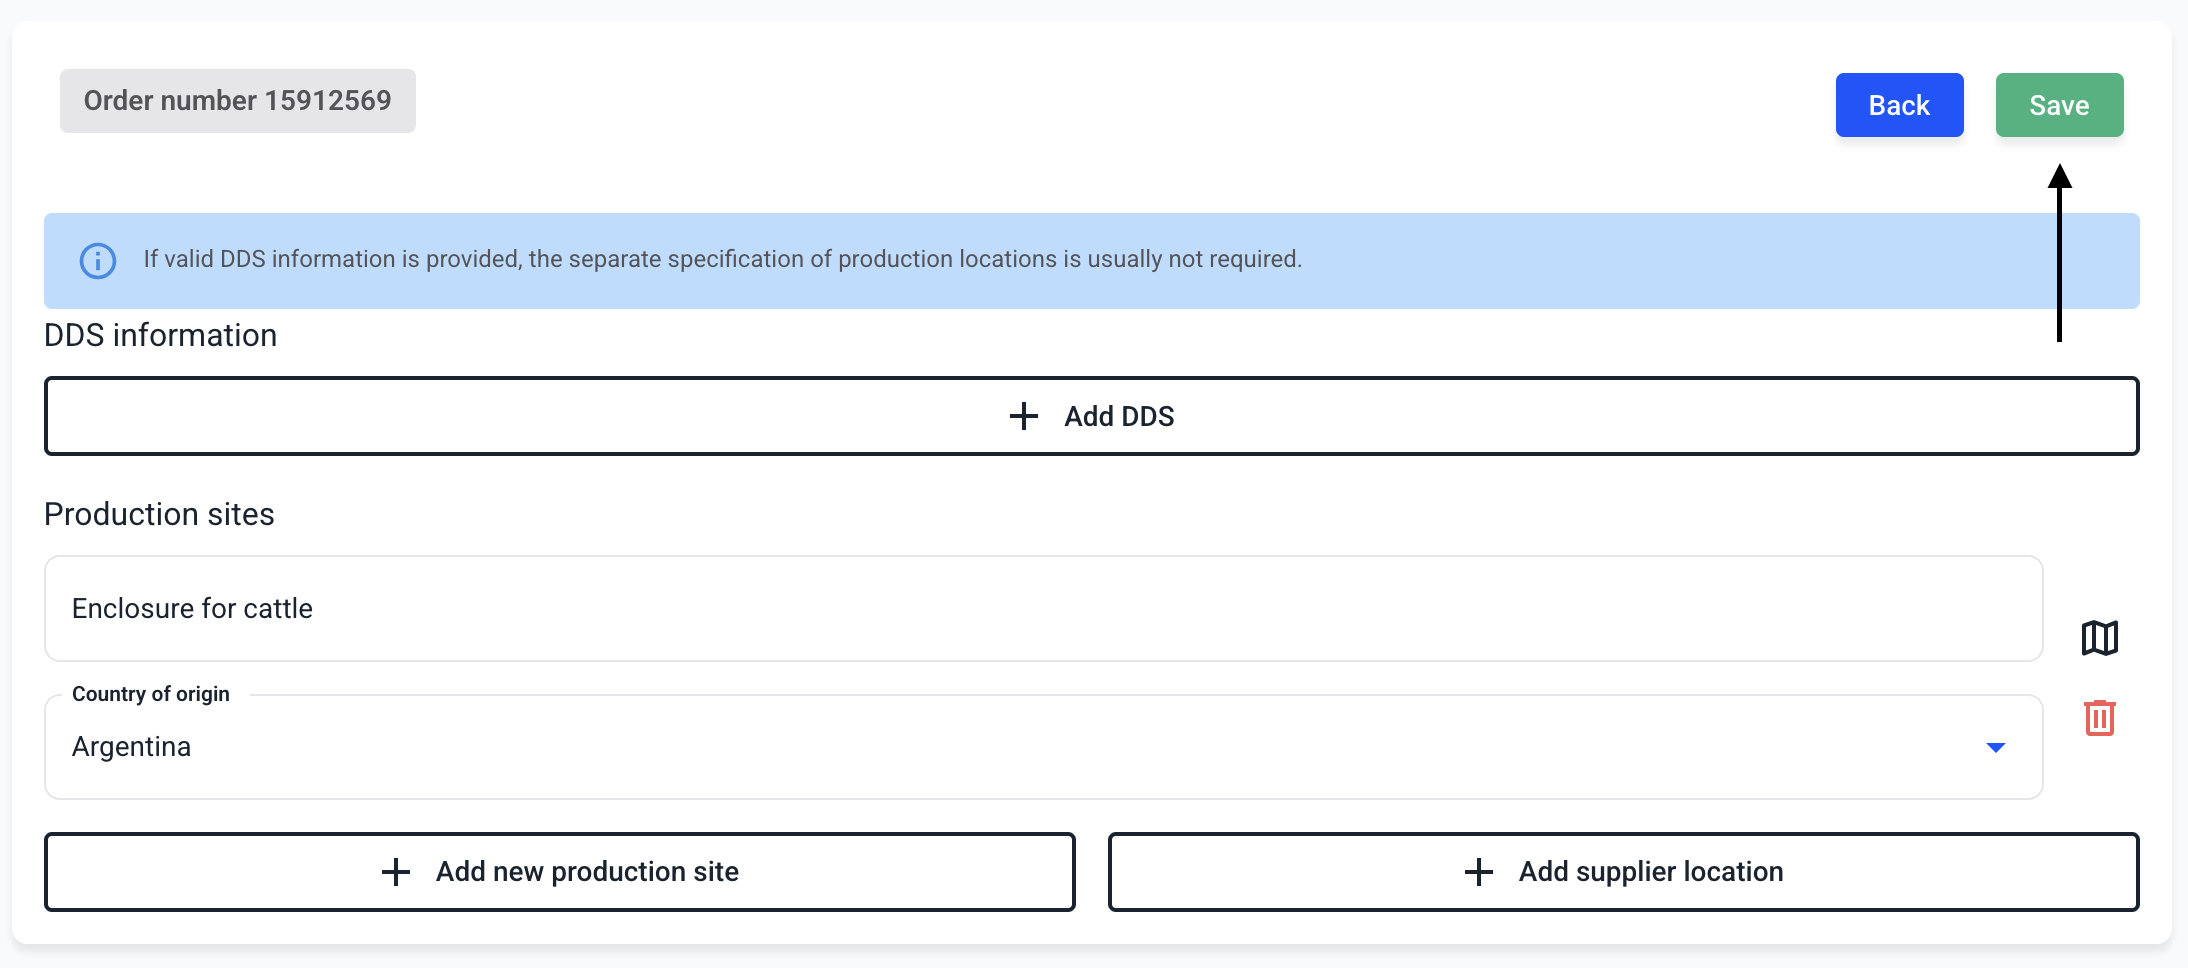
5. Click on the relevant batch (e.g., a delivery or order) for which you want to enter information.
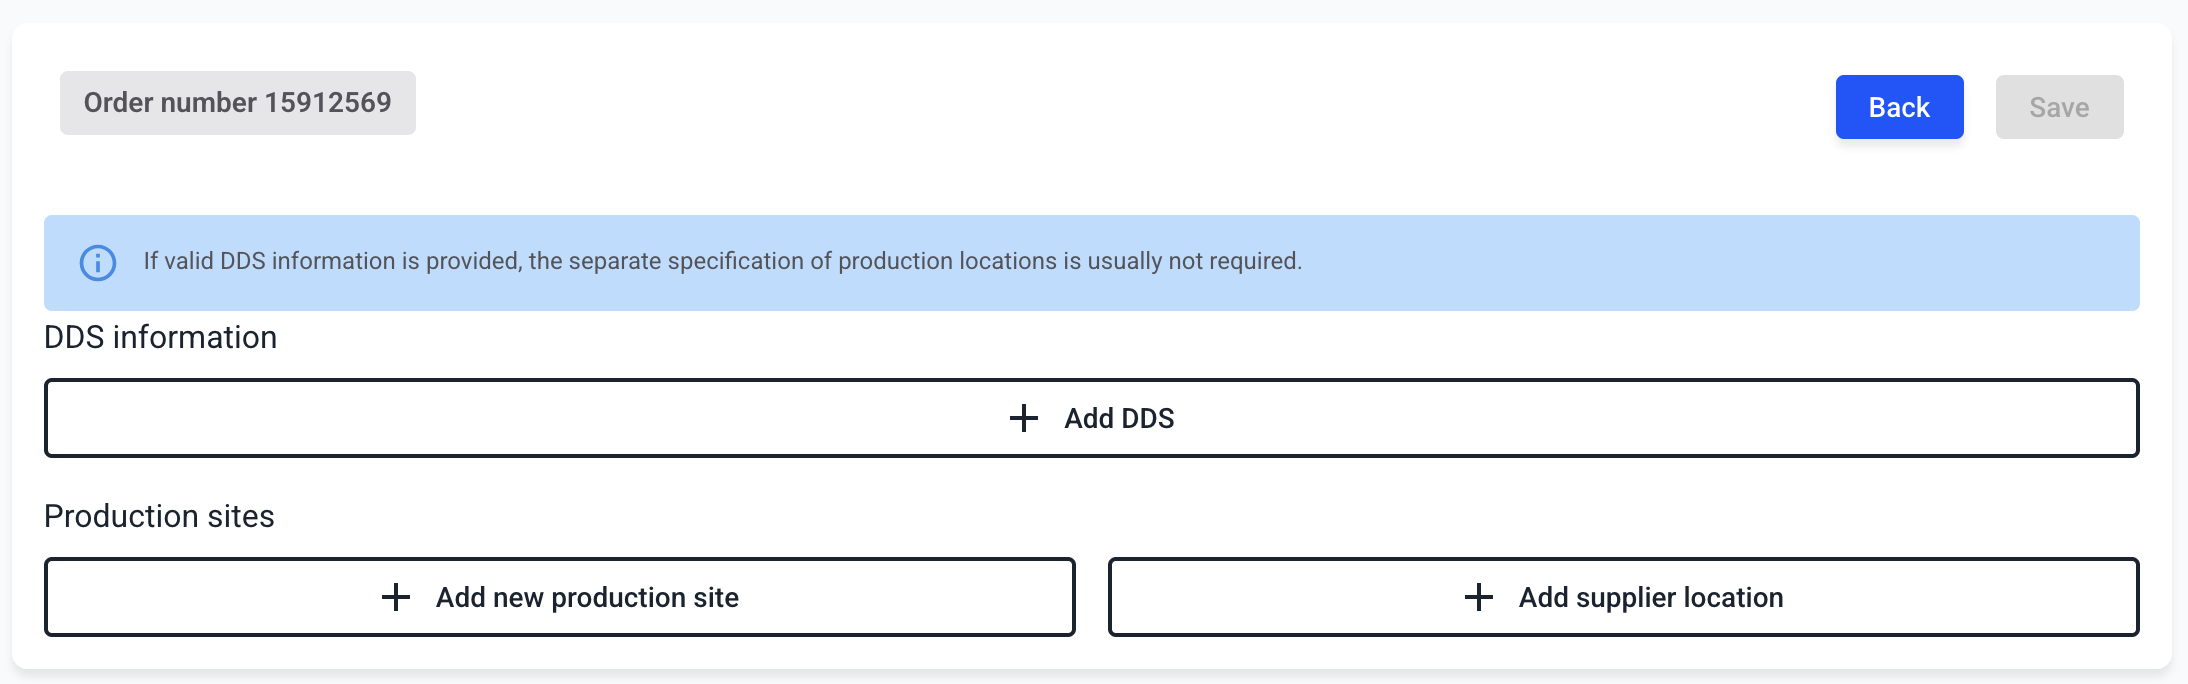
6. The batch overview opens.
-
With Add DDS, you can pass on an existing DDS (due diligence statement).
-
Under Add new production site, you can enter a production site once.
- Under Add supplier location, you can select a previously stored production location from the templates you have created yourself.
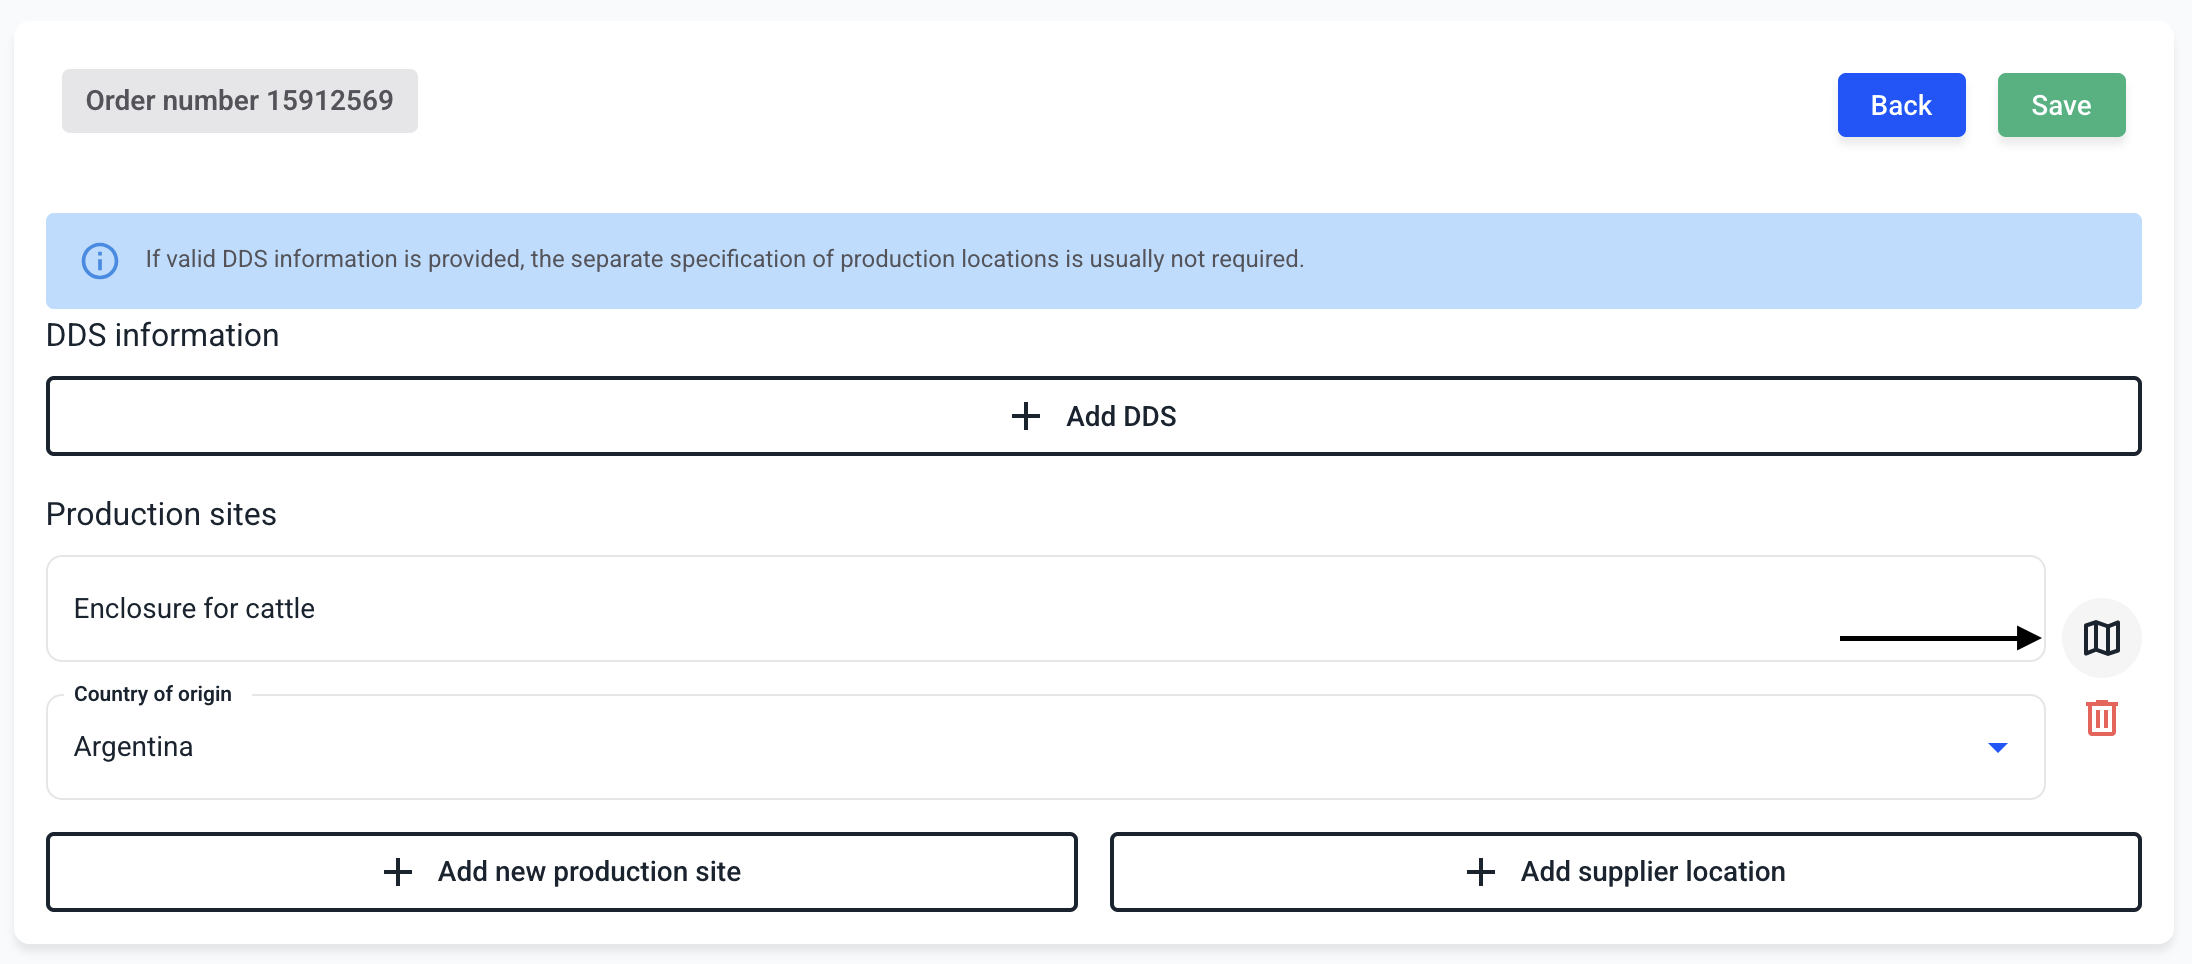
7. Specify production location
-
When creating a new production site, specify the location where the EUDR-relevant product was extracted or produced.
- Fill in a name
- Specify a country of origin
- Right-click on the map icon
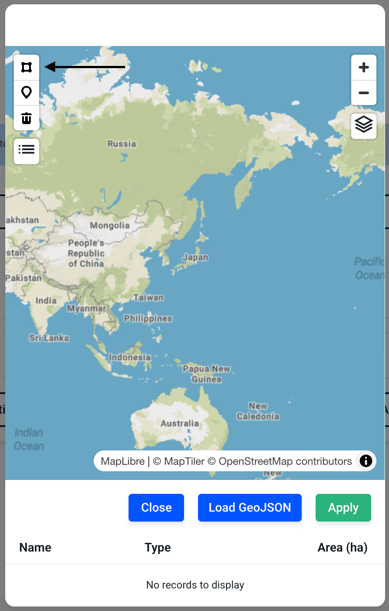
8. Now you can store the geolocation data for the product. There are three different ways to do this.
-
A deposit as a polygon
-
Depositing a unique point
- Depositing geo-data by uploading a GeoJson file
After entering the geo-coordinates, click Apply for all steps.
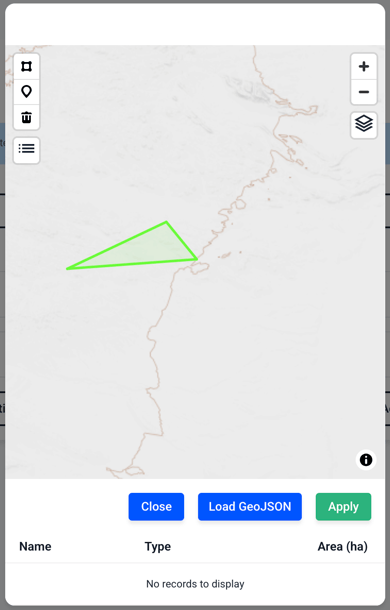
Method 1: Depositing a polygon
You can start a polygon using the marked symbol. Set waypoints on the map and end at the last point in your first set point to create a closed area.
Method 2: Depositing a point
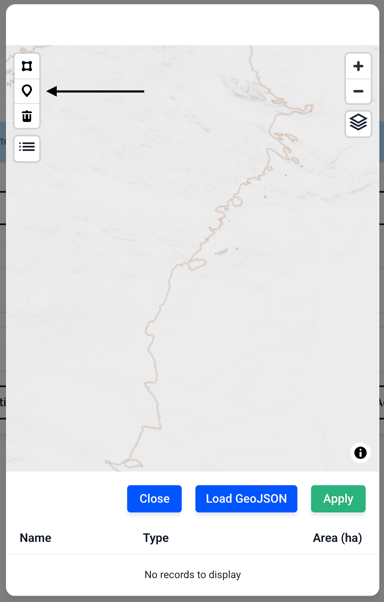
Now place a point on the map by pressing anywhere on the map.
Method 3: Uploading a GeoJson file
Click Load GeoJson and select a file in your file browser.

9. Click Save.