How can I edit a user?
This chapter explains how to edit a user.
Under User Management, you can edit administrators, managers, readers, and system administrators. Click on User Management.
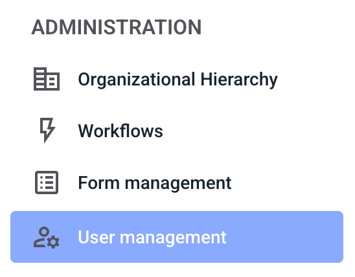
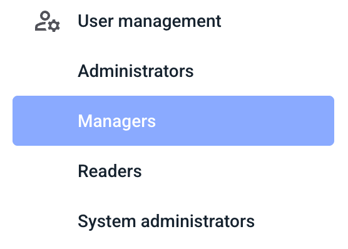
If the user is an manager, click on Managers.
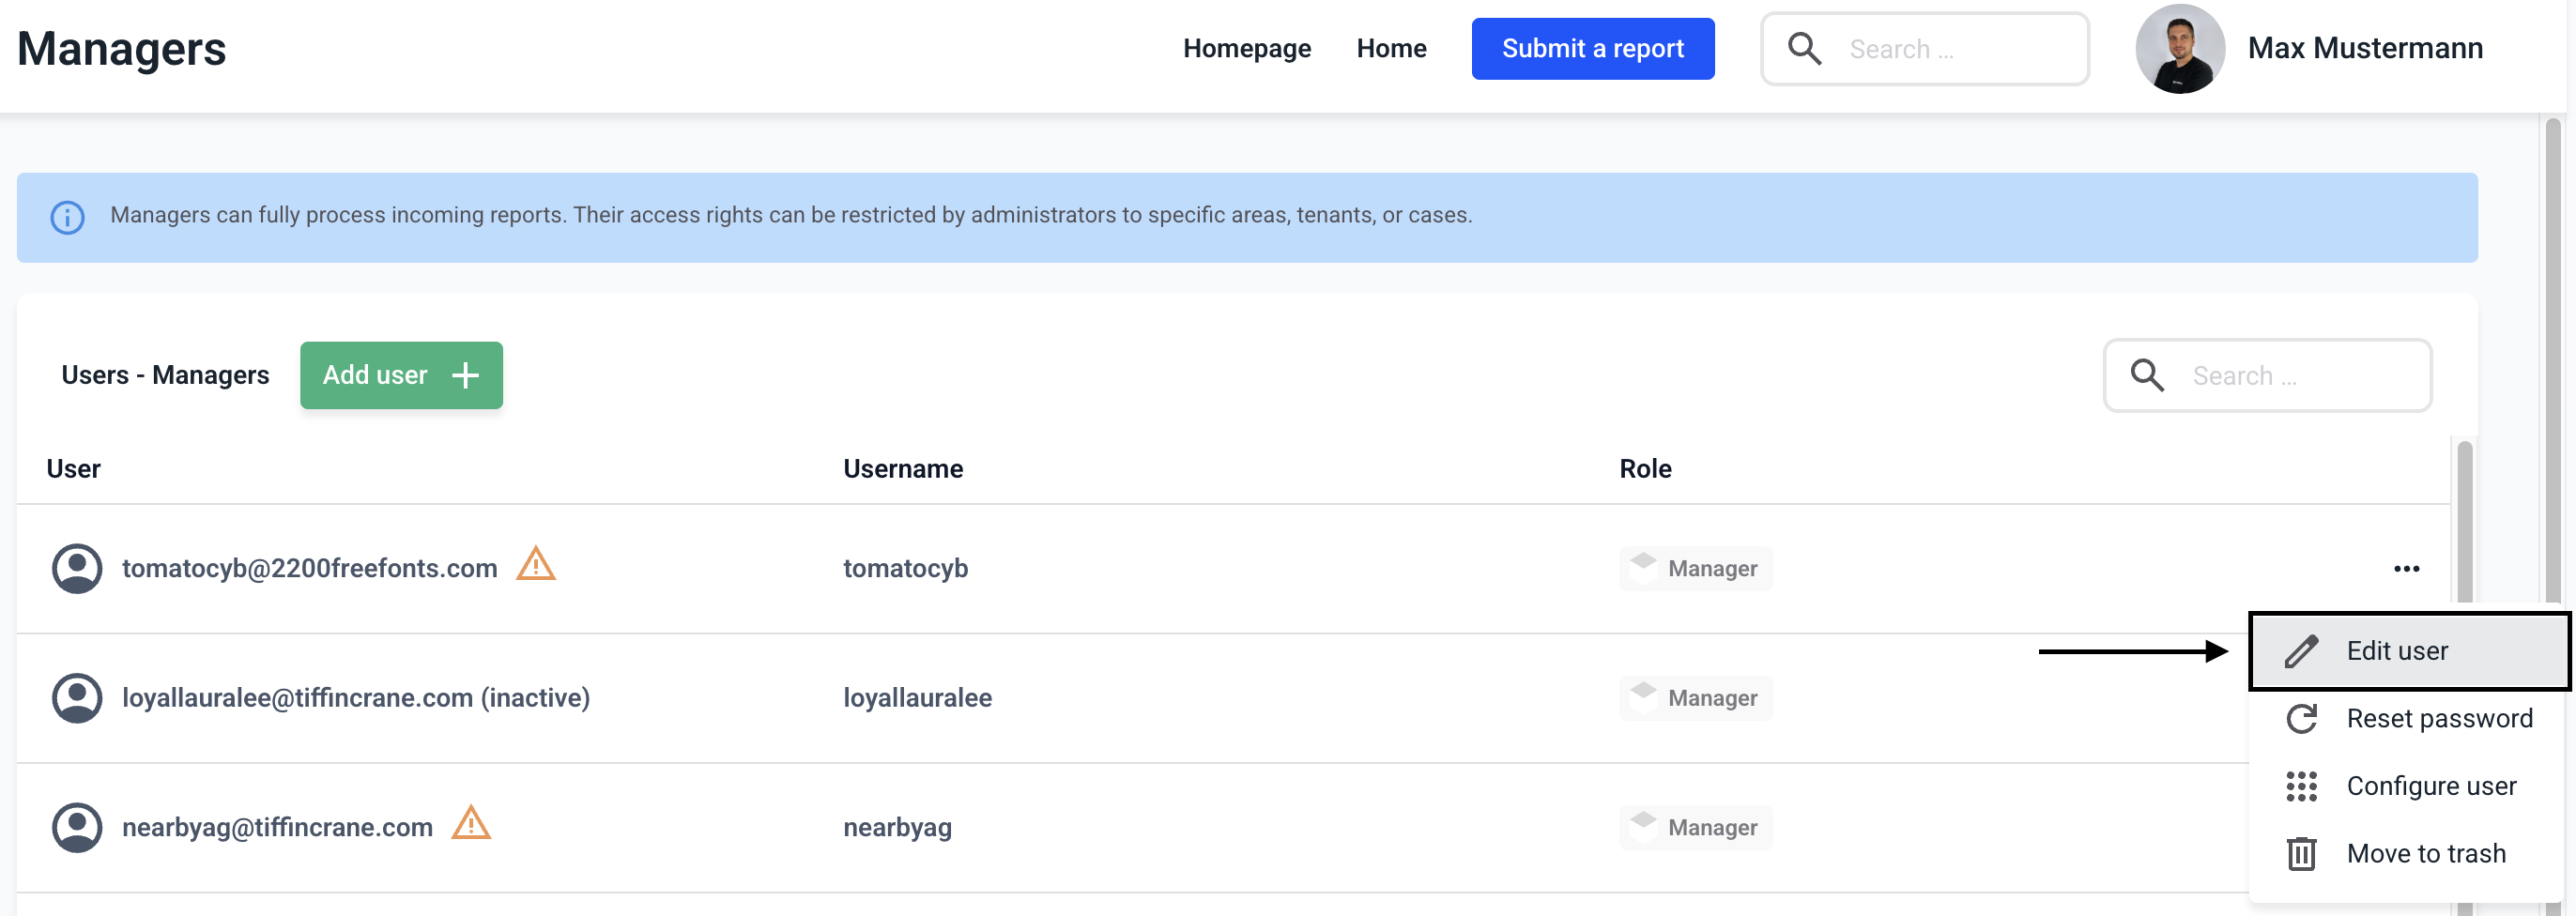
An overview of all managers in the system will open. You can edit users by clicking on the three dots on the right-hand side.

The following options are available.
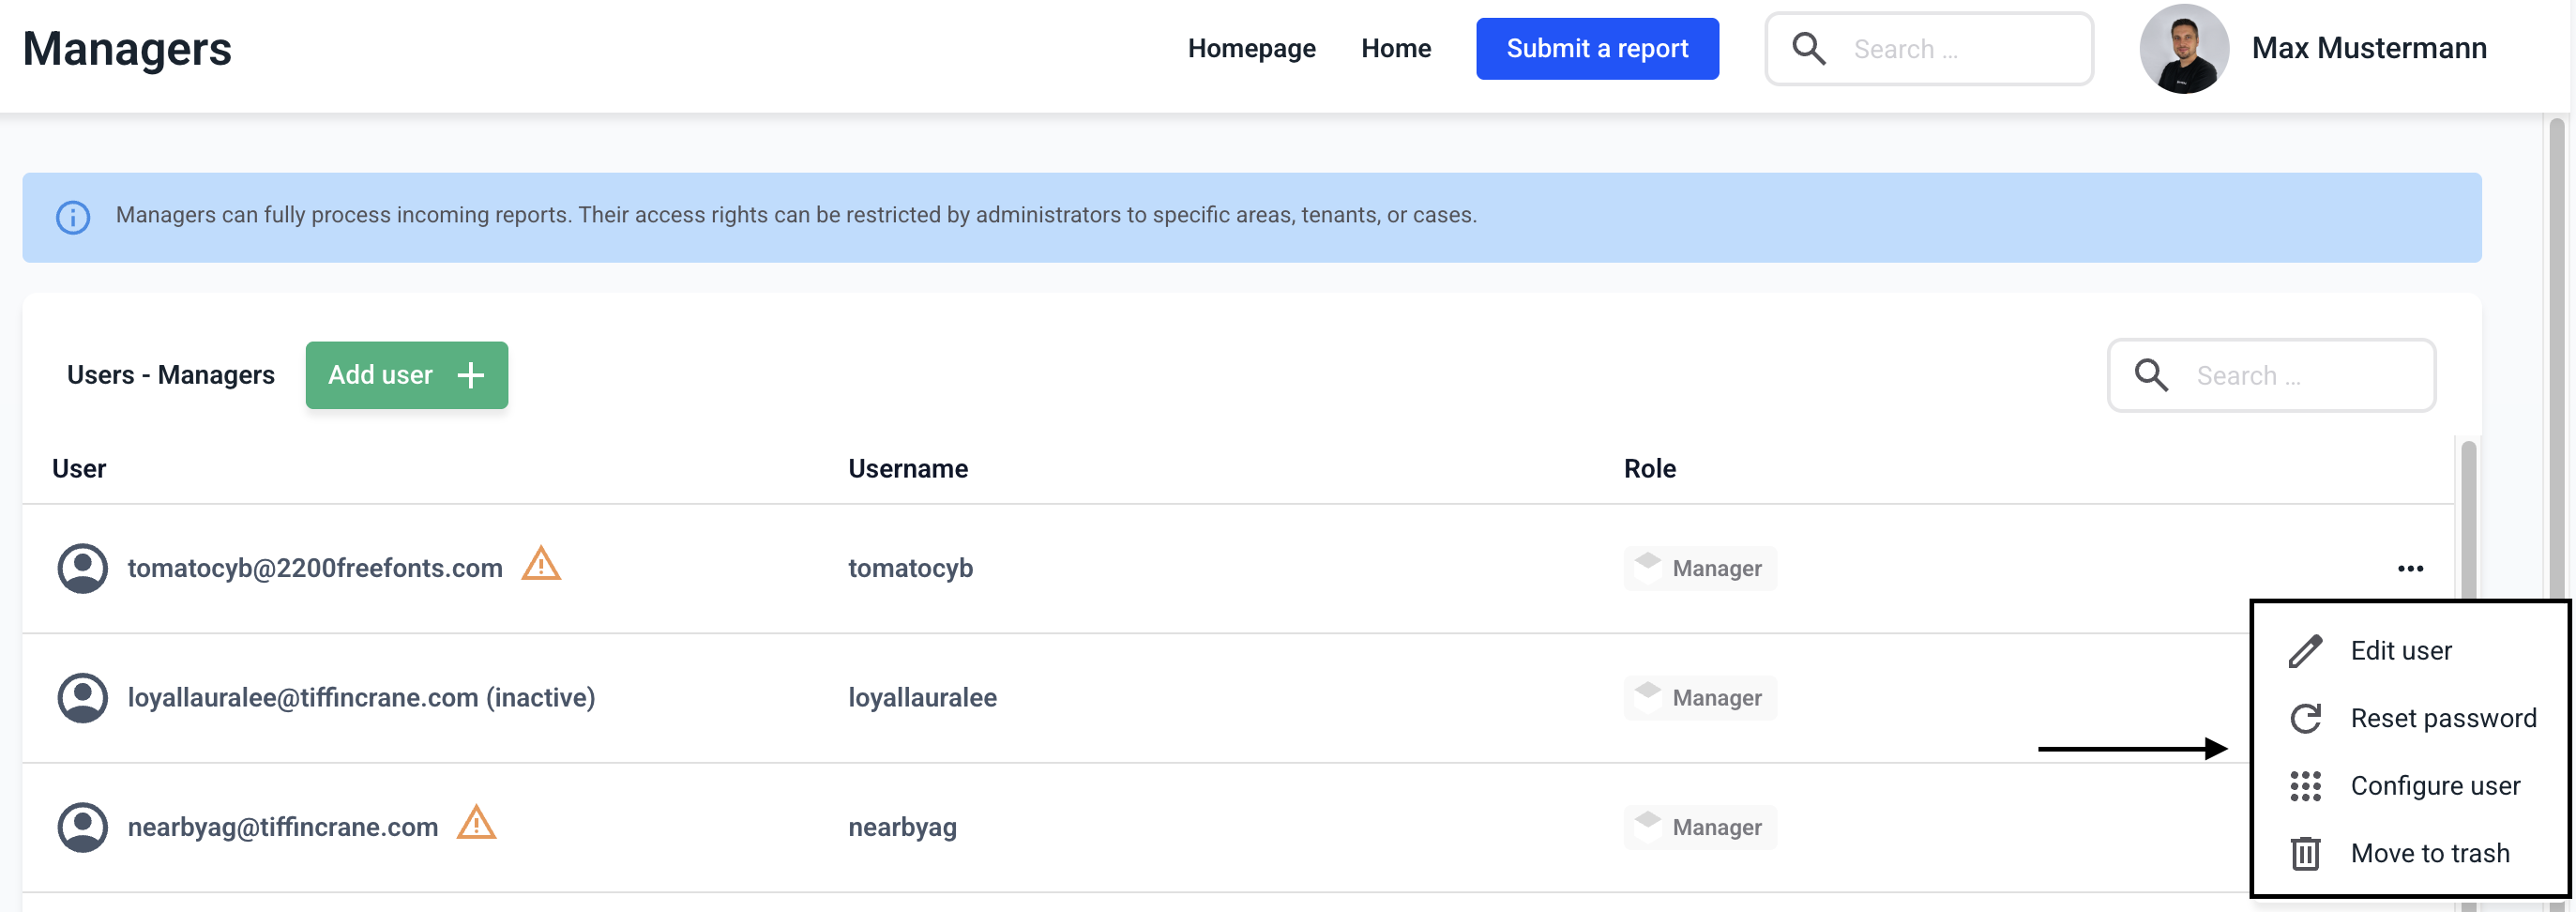
You can edit the user by clicking on Edit user.
The following describes how to edit a user.
Rights & Roles - There are four different roles in Hintbox.
Access Rights Area - With the Administrator role, the user has full access to all areas.
Access rights for subsidiaries - With the administrator role, the user has full access to all subsidiaries.
Access rights for matters - With the administrator role, the user has full access to all matters.
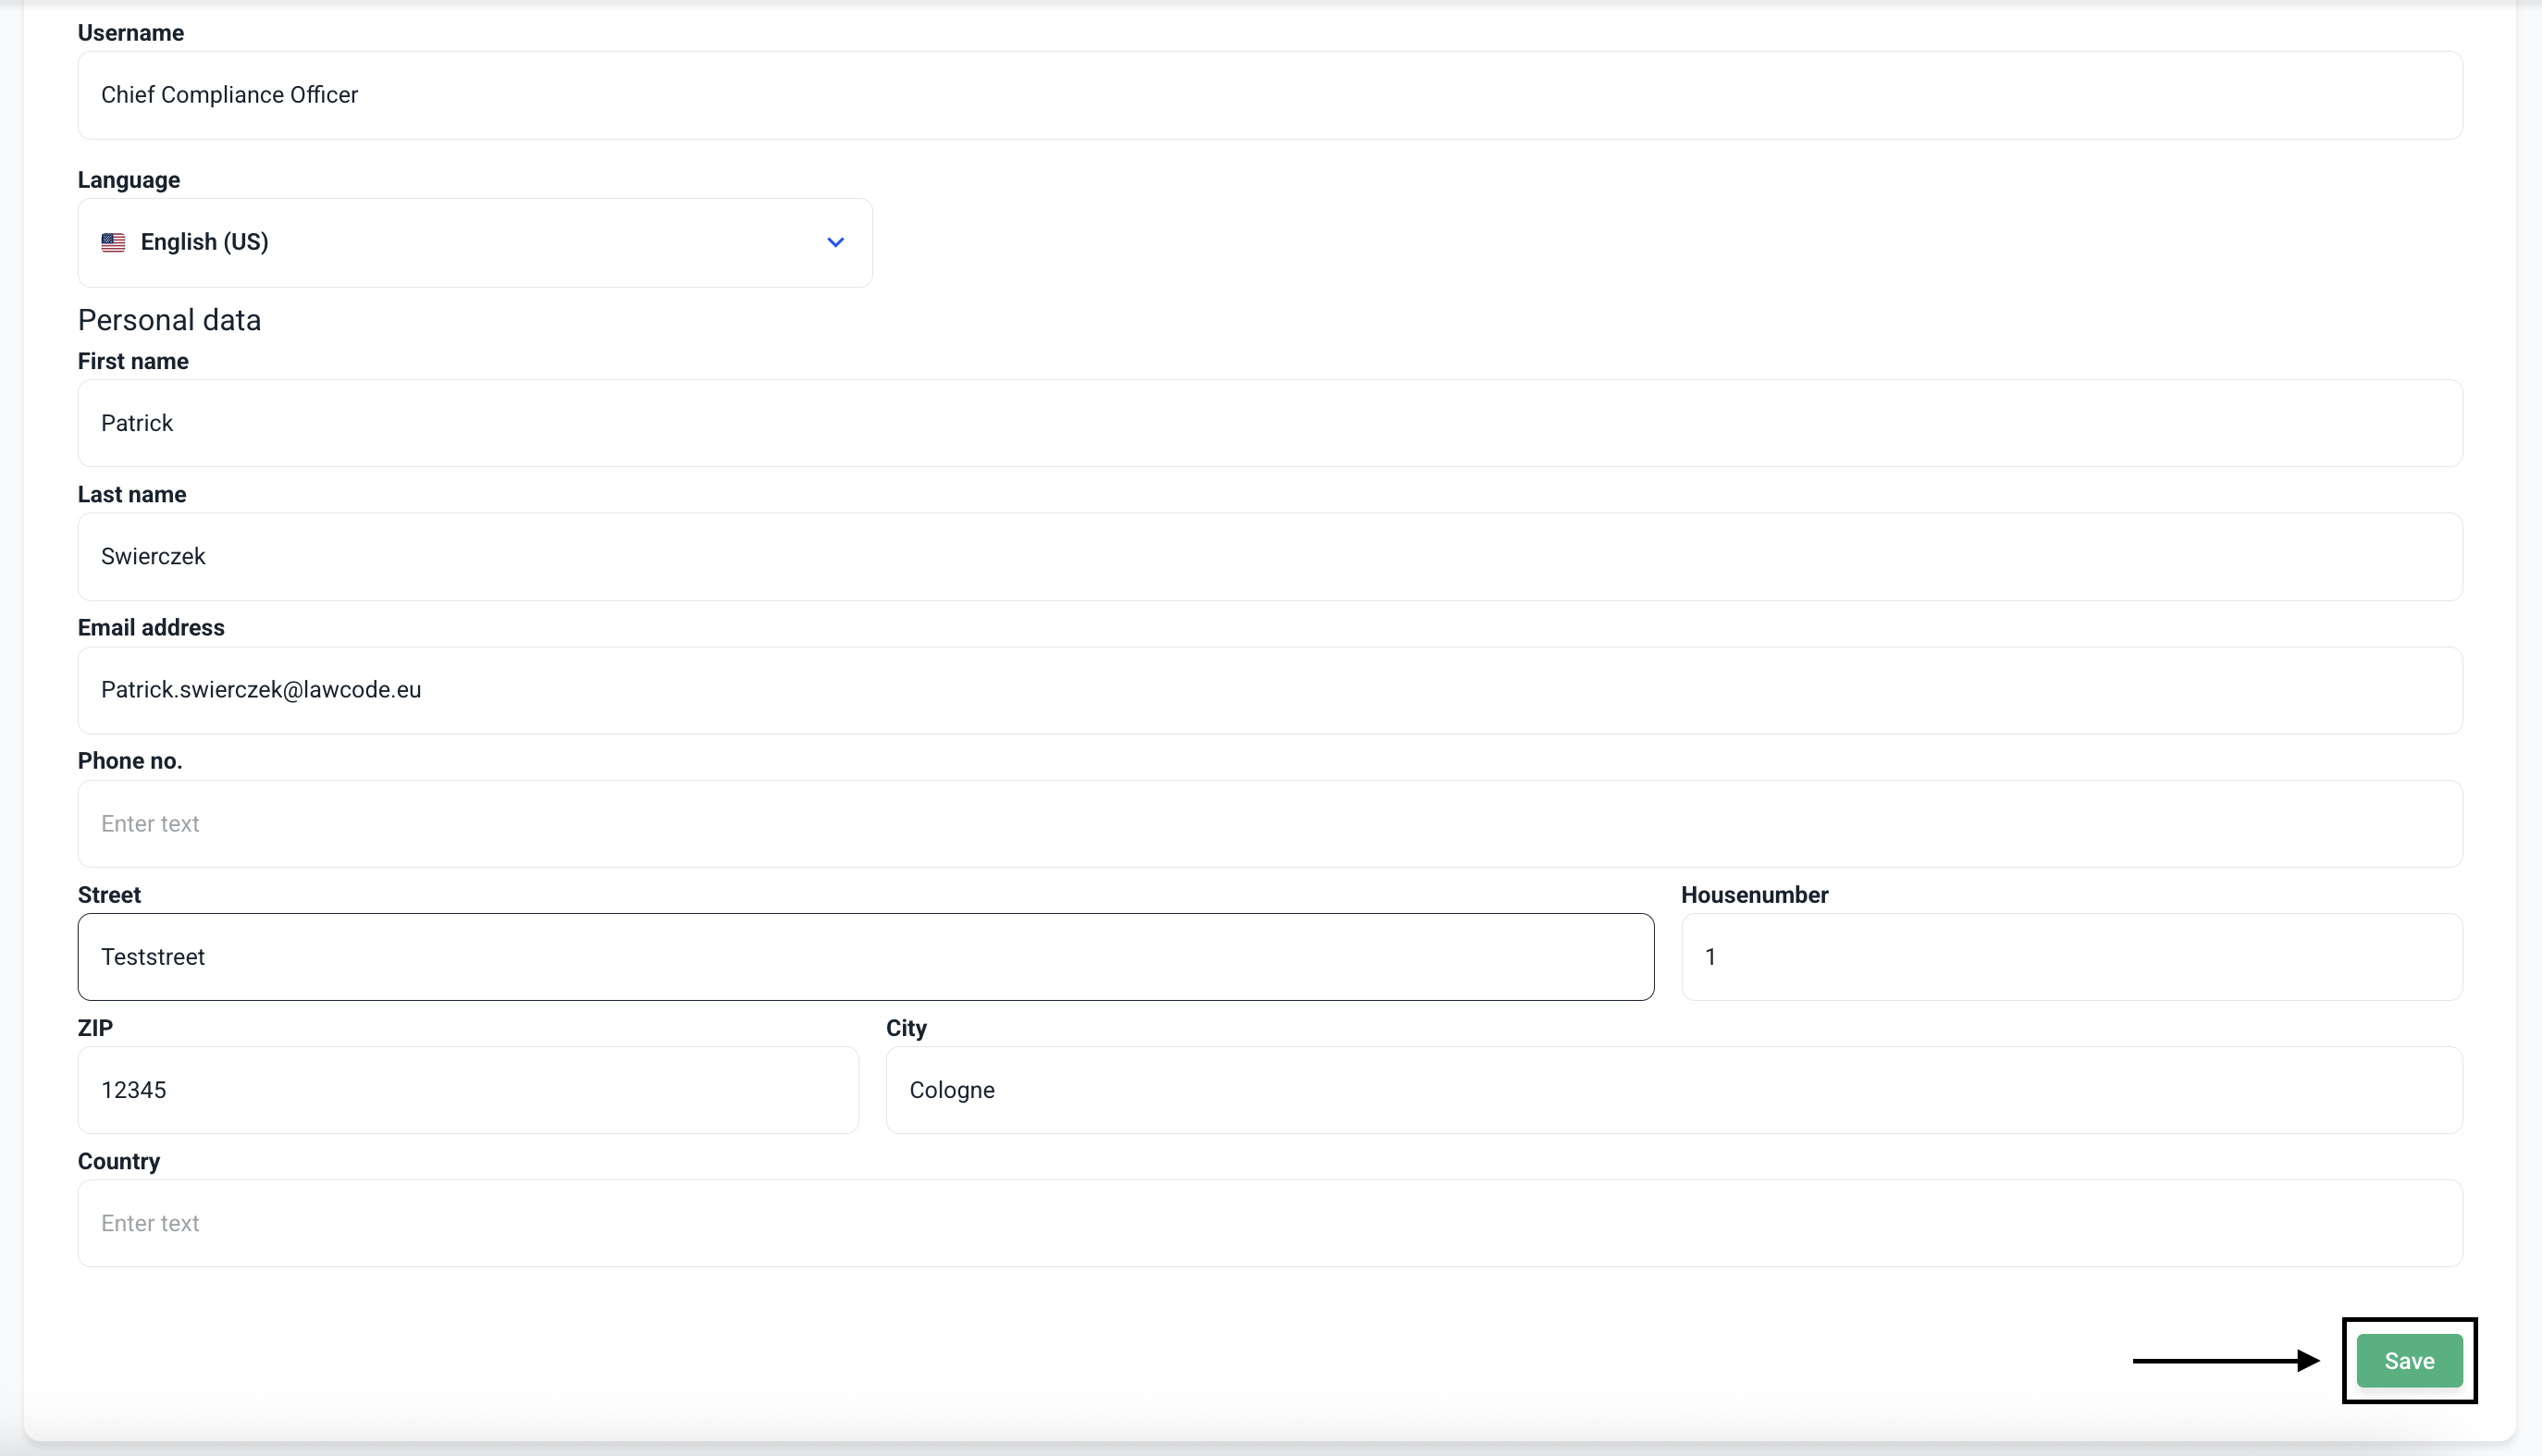
User name - The user name can either be assigned or is automatically generated from the email address after the user is created.
Language - The language profile setting ensures that the invitation email to the system is sent in the selected language and that the hint box is displayed in this language for the user.
Email address - The invitation email and all other system emails are sent to the specified email address, which the user uses to log in to the system.
Personal data - Only the first and last name are visible to the whistleblower in the message history (if not specified, the user name is displayed).
By clicking on the respective checkbox for the roles, you can deselect or add a role.

The following three fields must be selected for readers and managers.

By clicking on the Select areas field, you can select the areas to which the user should have access.

Click on the corresponding areas to add them to the user.

If you click on the X in the corresponding areas, they will be removed by the user.

By clicking on the Select subsidiary field, the subsidiaries to which the user should or should not have access can be selected or removed.

Clicking on the relevant subsidiaries adds them to the user.

If you click on the X next to the relevant subsidiaries, they will be removed by the user.

By clicking on the Select matters field, the matters to which the user should have access can be selected or removed again.

Clicking on the relevant categories adds them to the user. Alternatively, you can click on Select all and the user will have access to all matters.

By clicking on the X next to the relevant items, these are removed by the user.

The user account information can be edited in the following fields. Any change to the email address must be confirmed in the email account of the newly stored email address.

If no further changes are to be made to the user, click Save.
