/Lawcode%20Logo%20(White).svg)
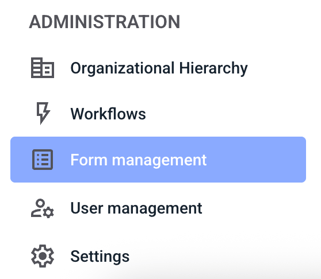
First navigate to the Form management.
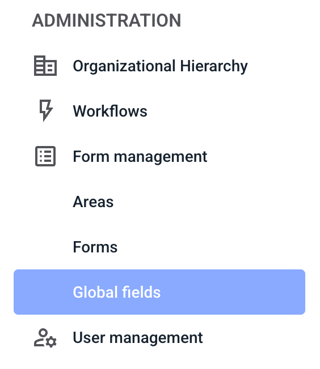
Navigate to the Global fields.
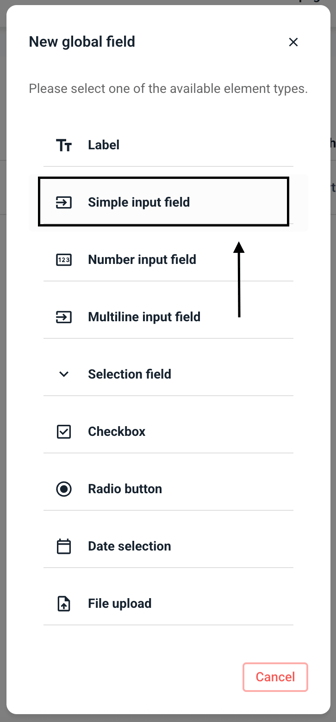
Click on New global field.
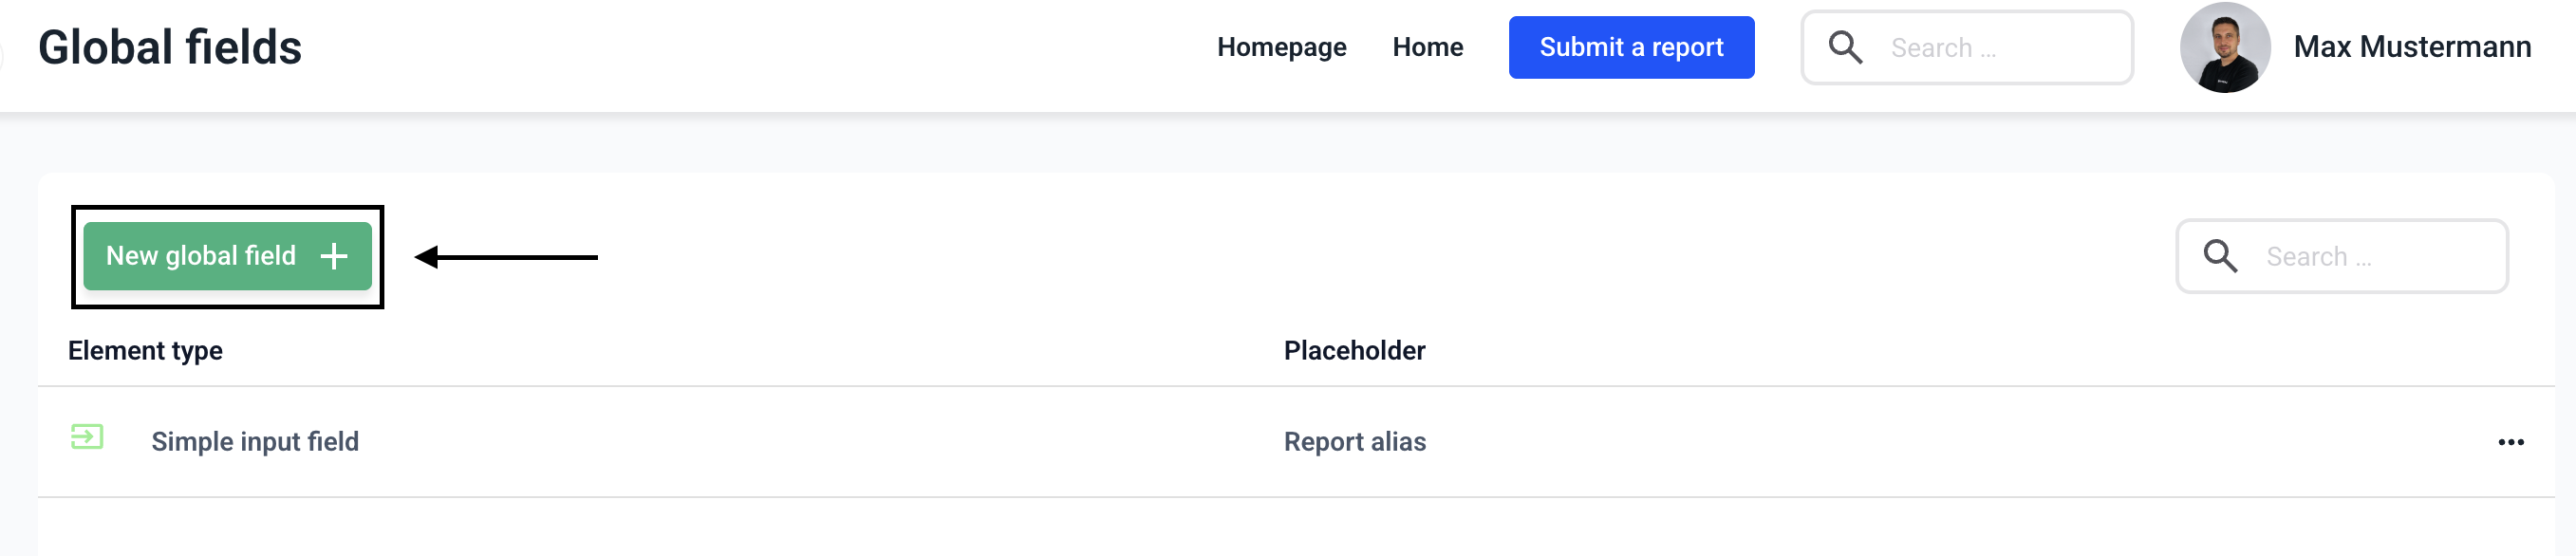
Click on the Simple input field.
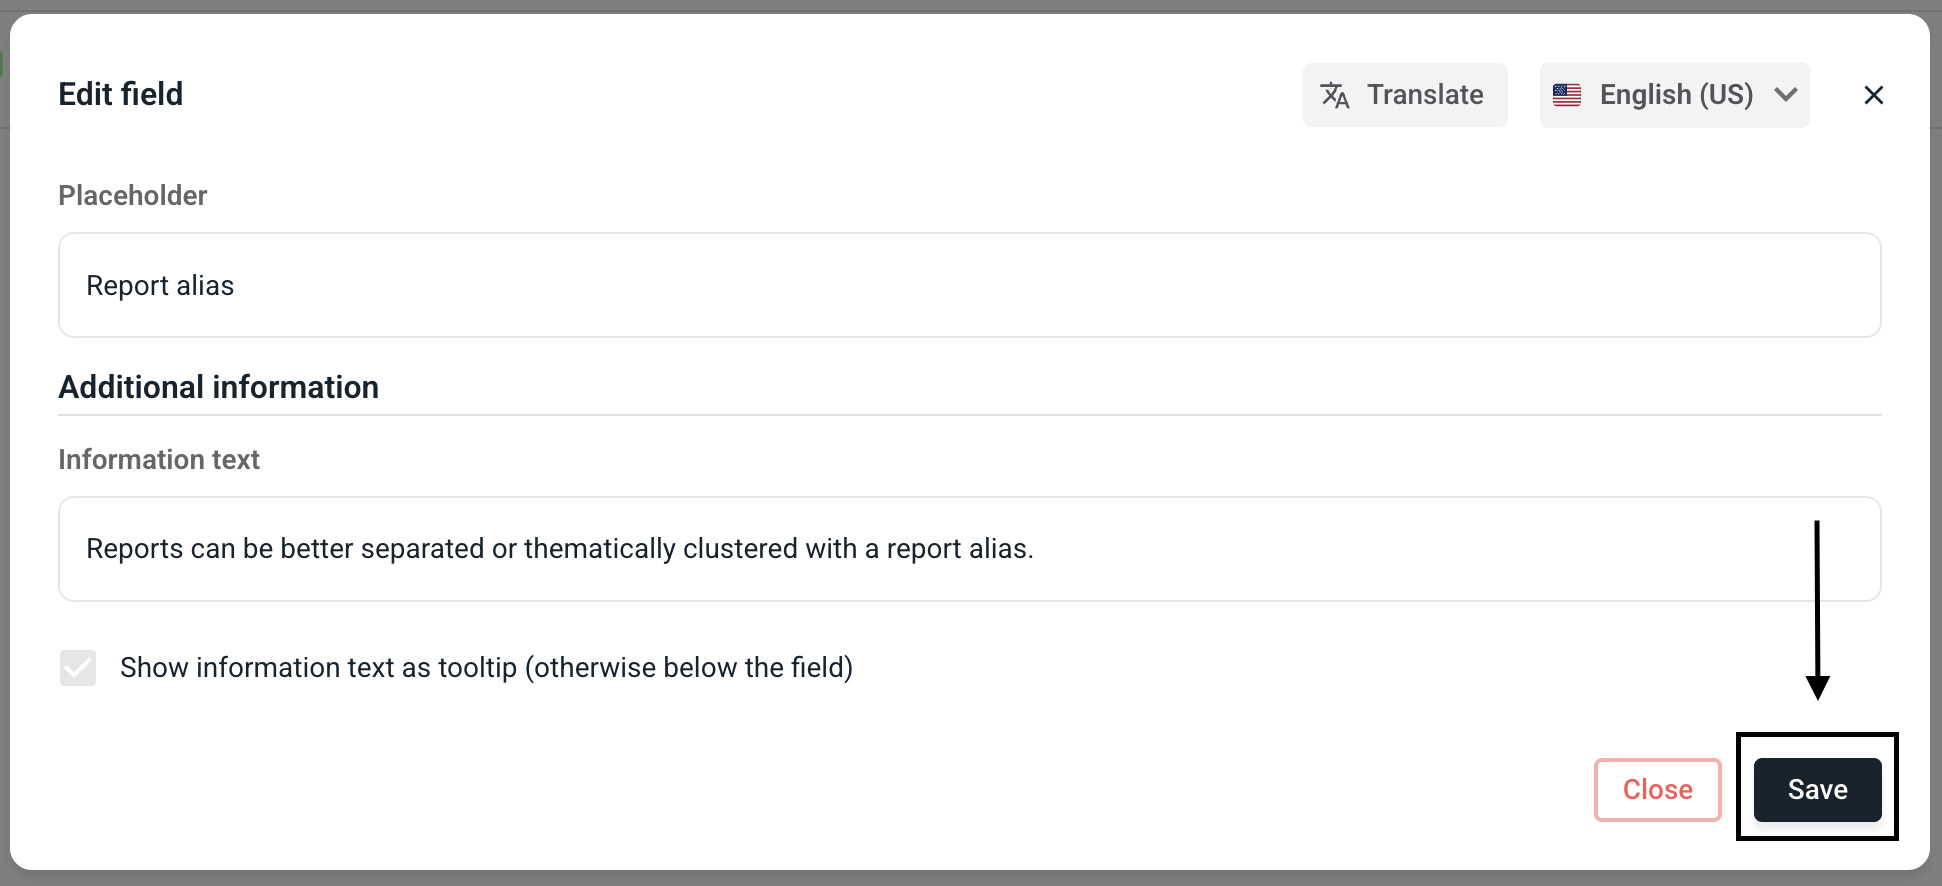
Edit the text accordingly and click on Save.
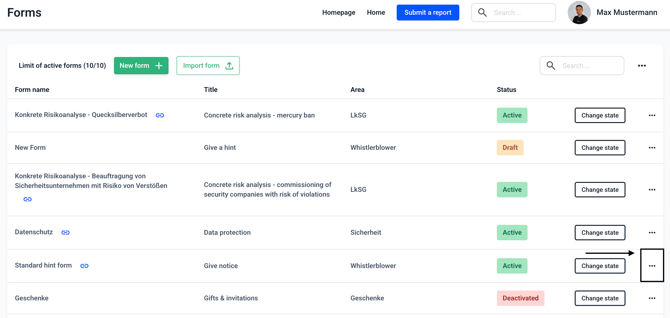
Navigate to the Form management and then Forms step and then click on the three dots on the right-hand side of the form of your choice.
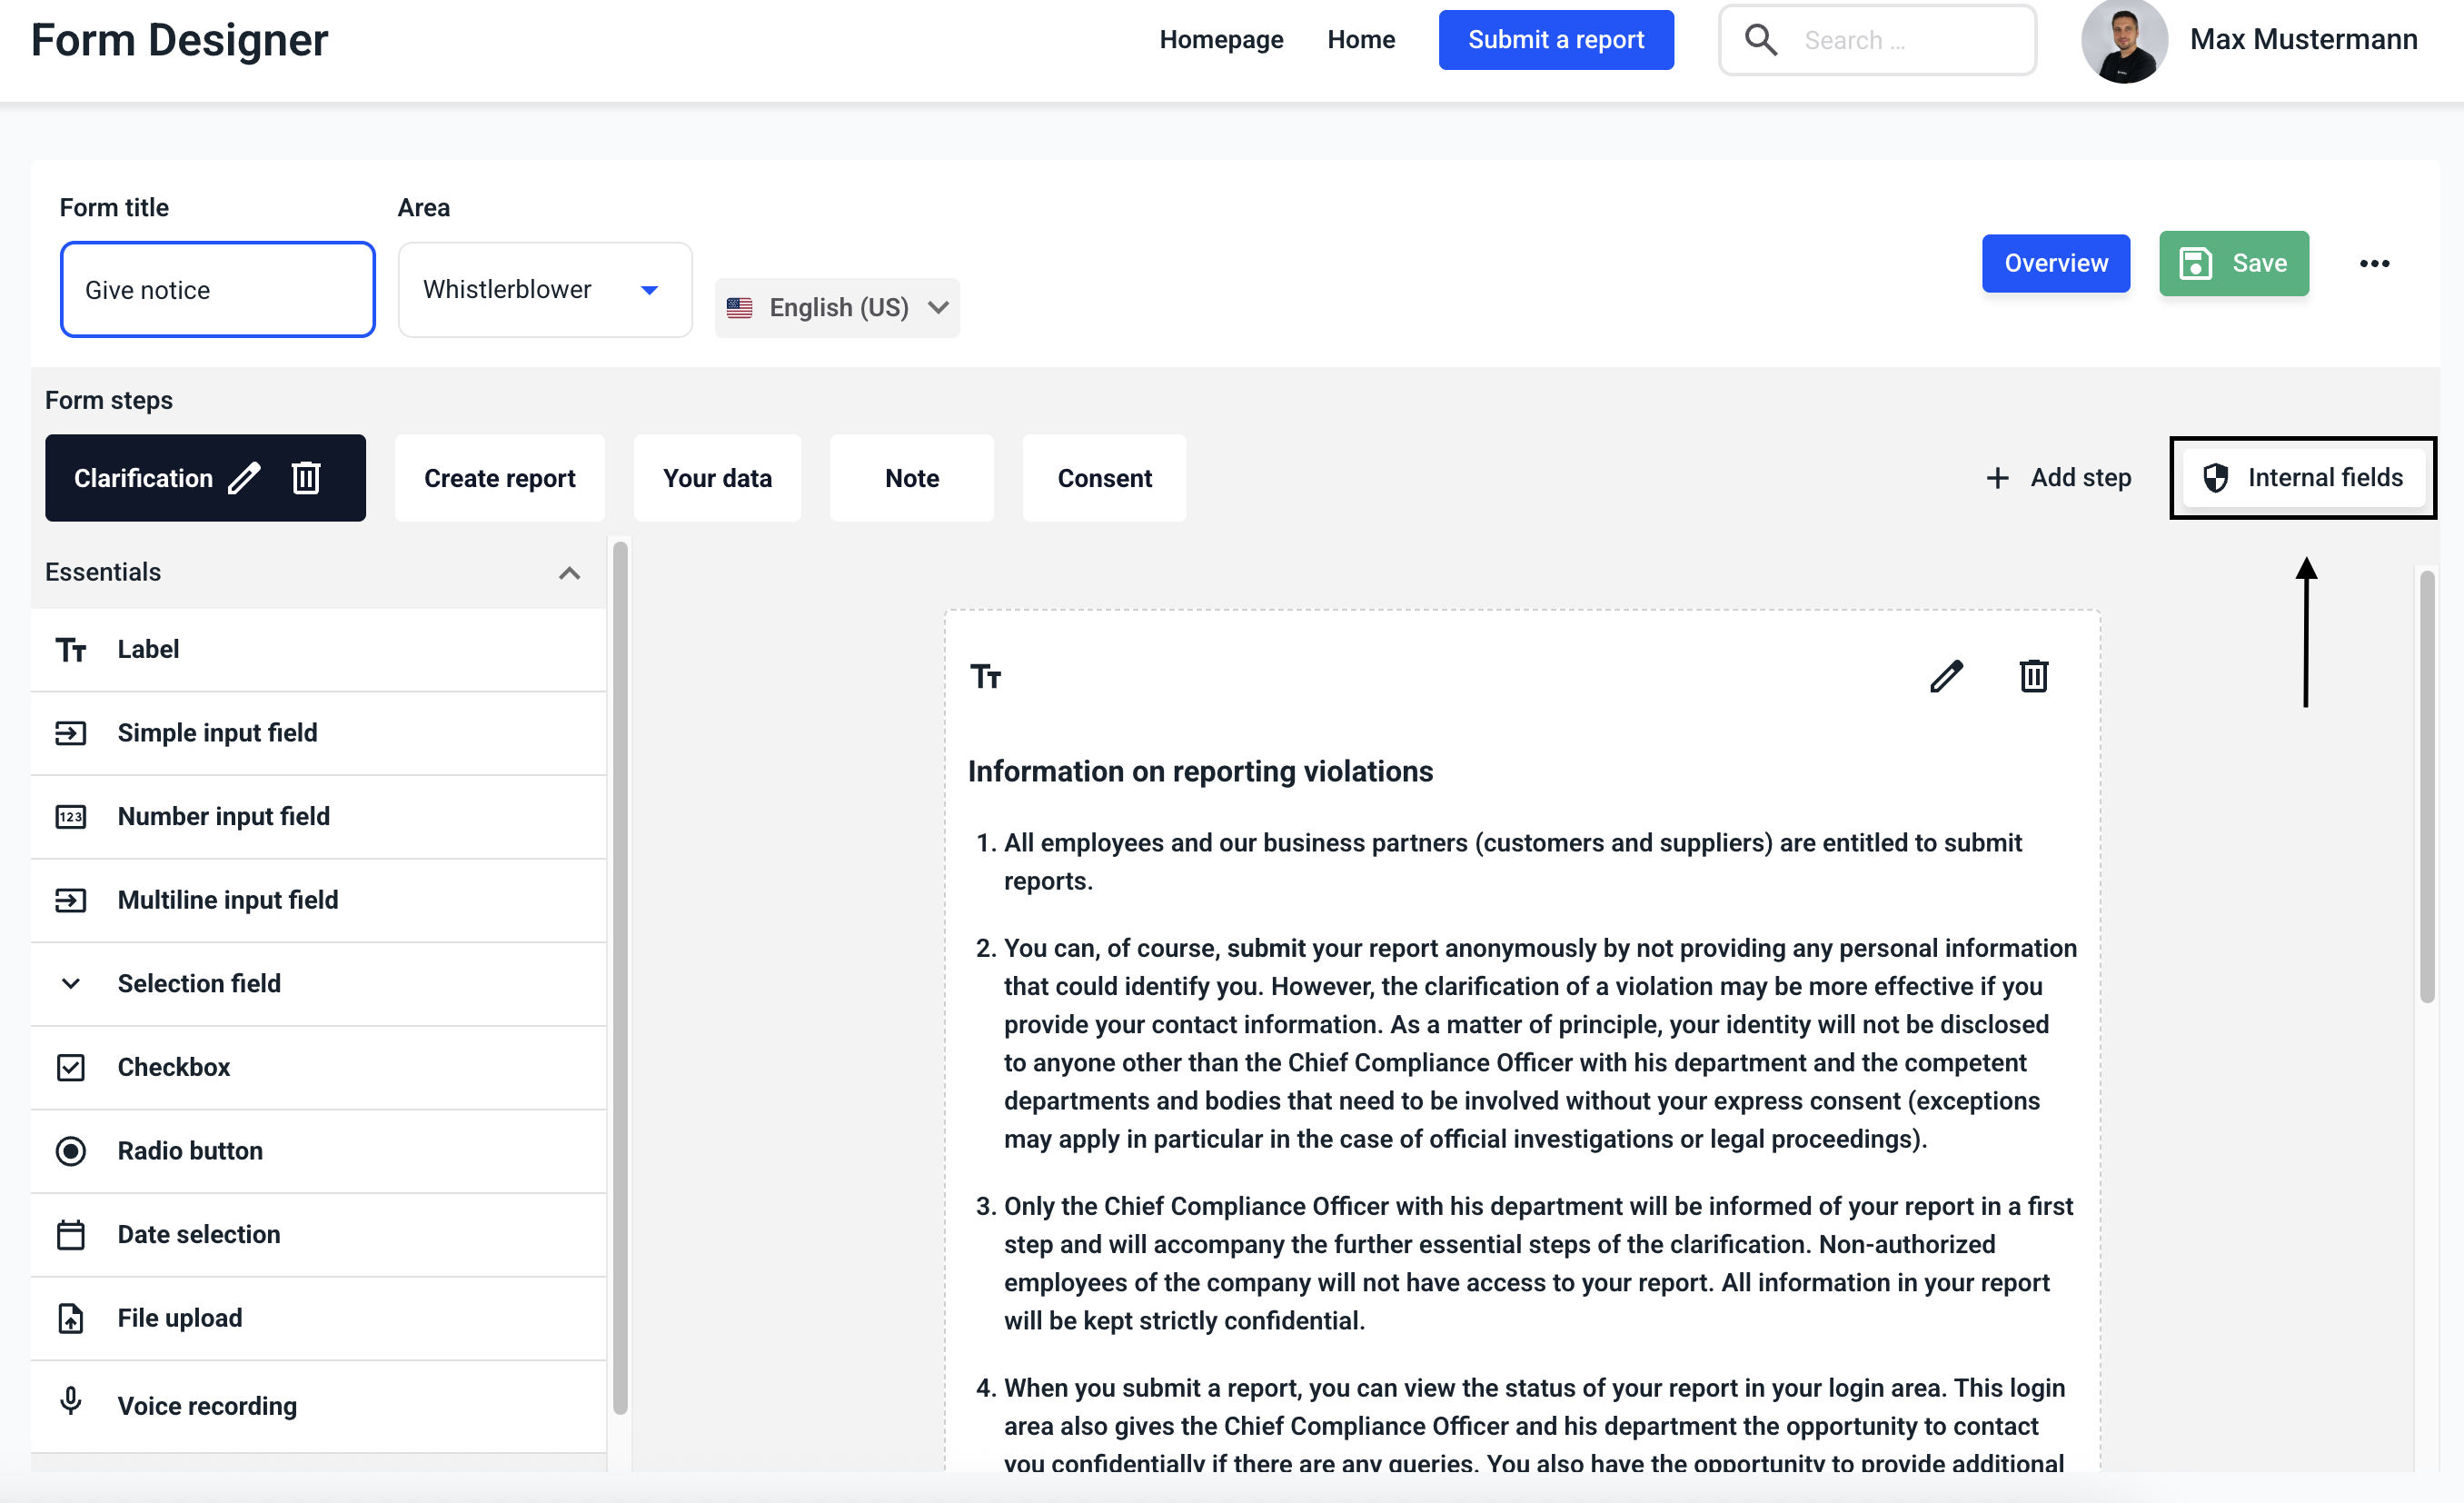
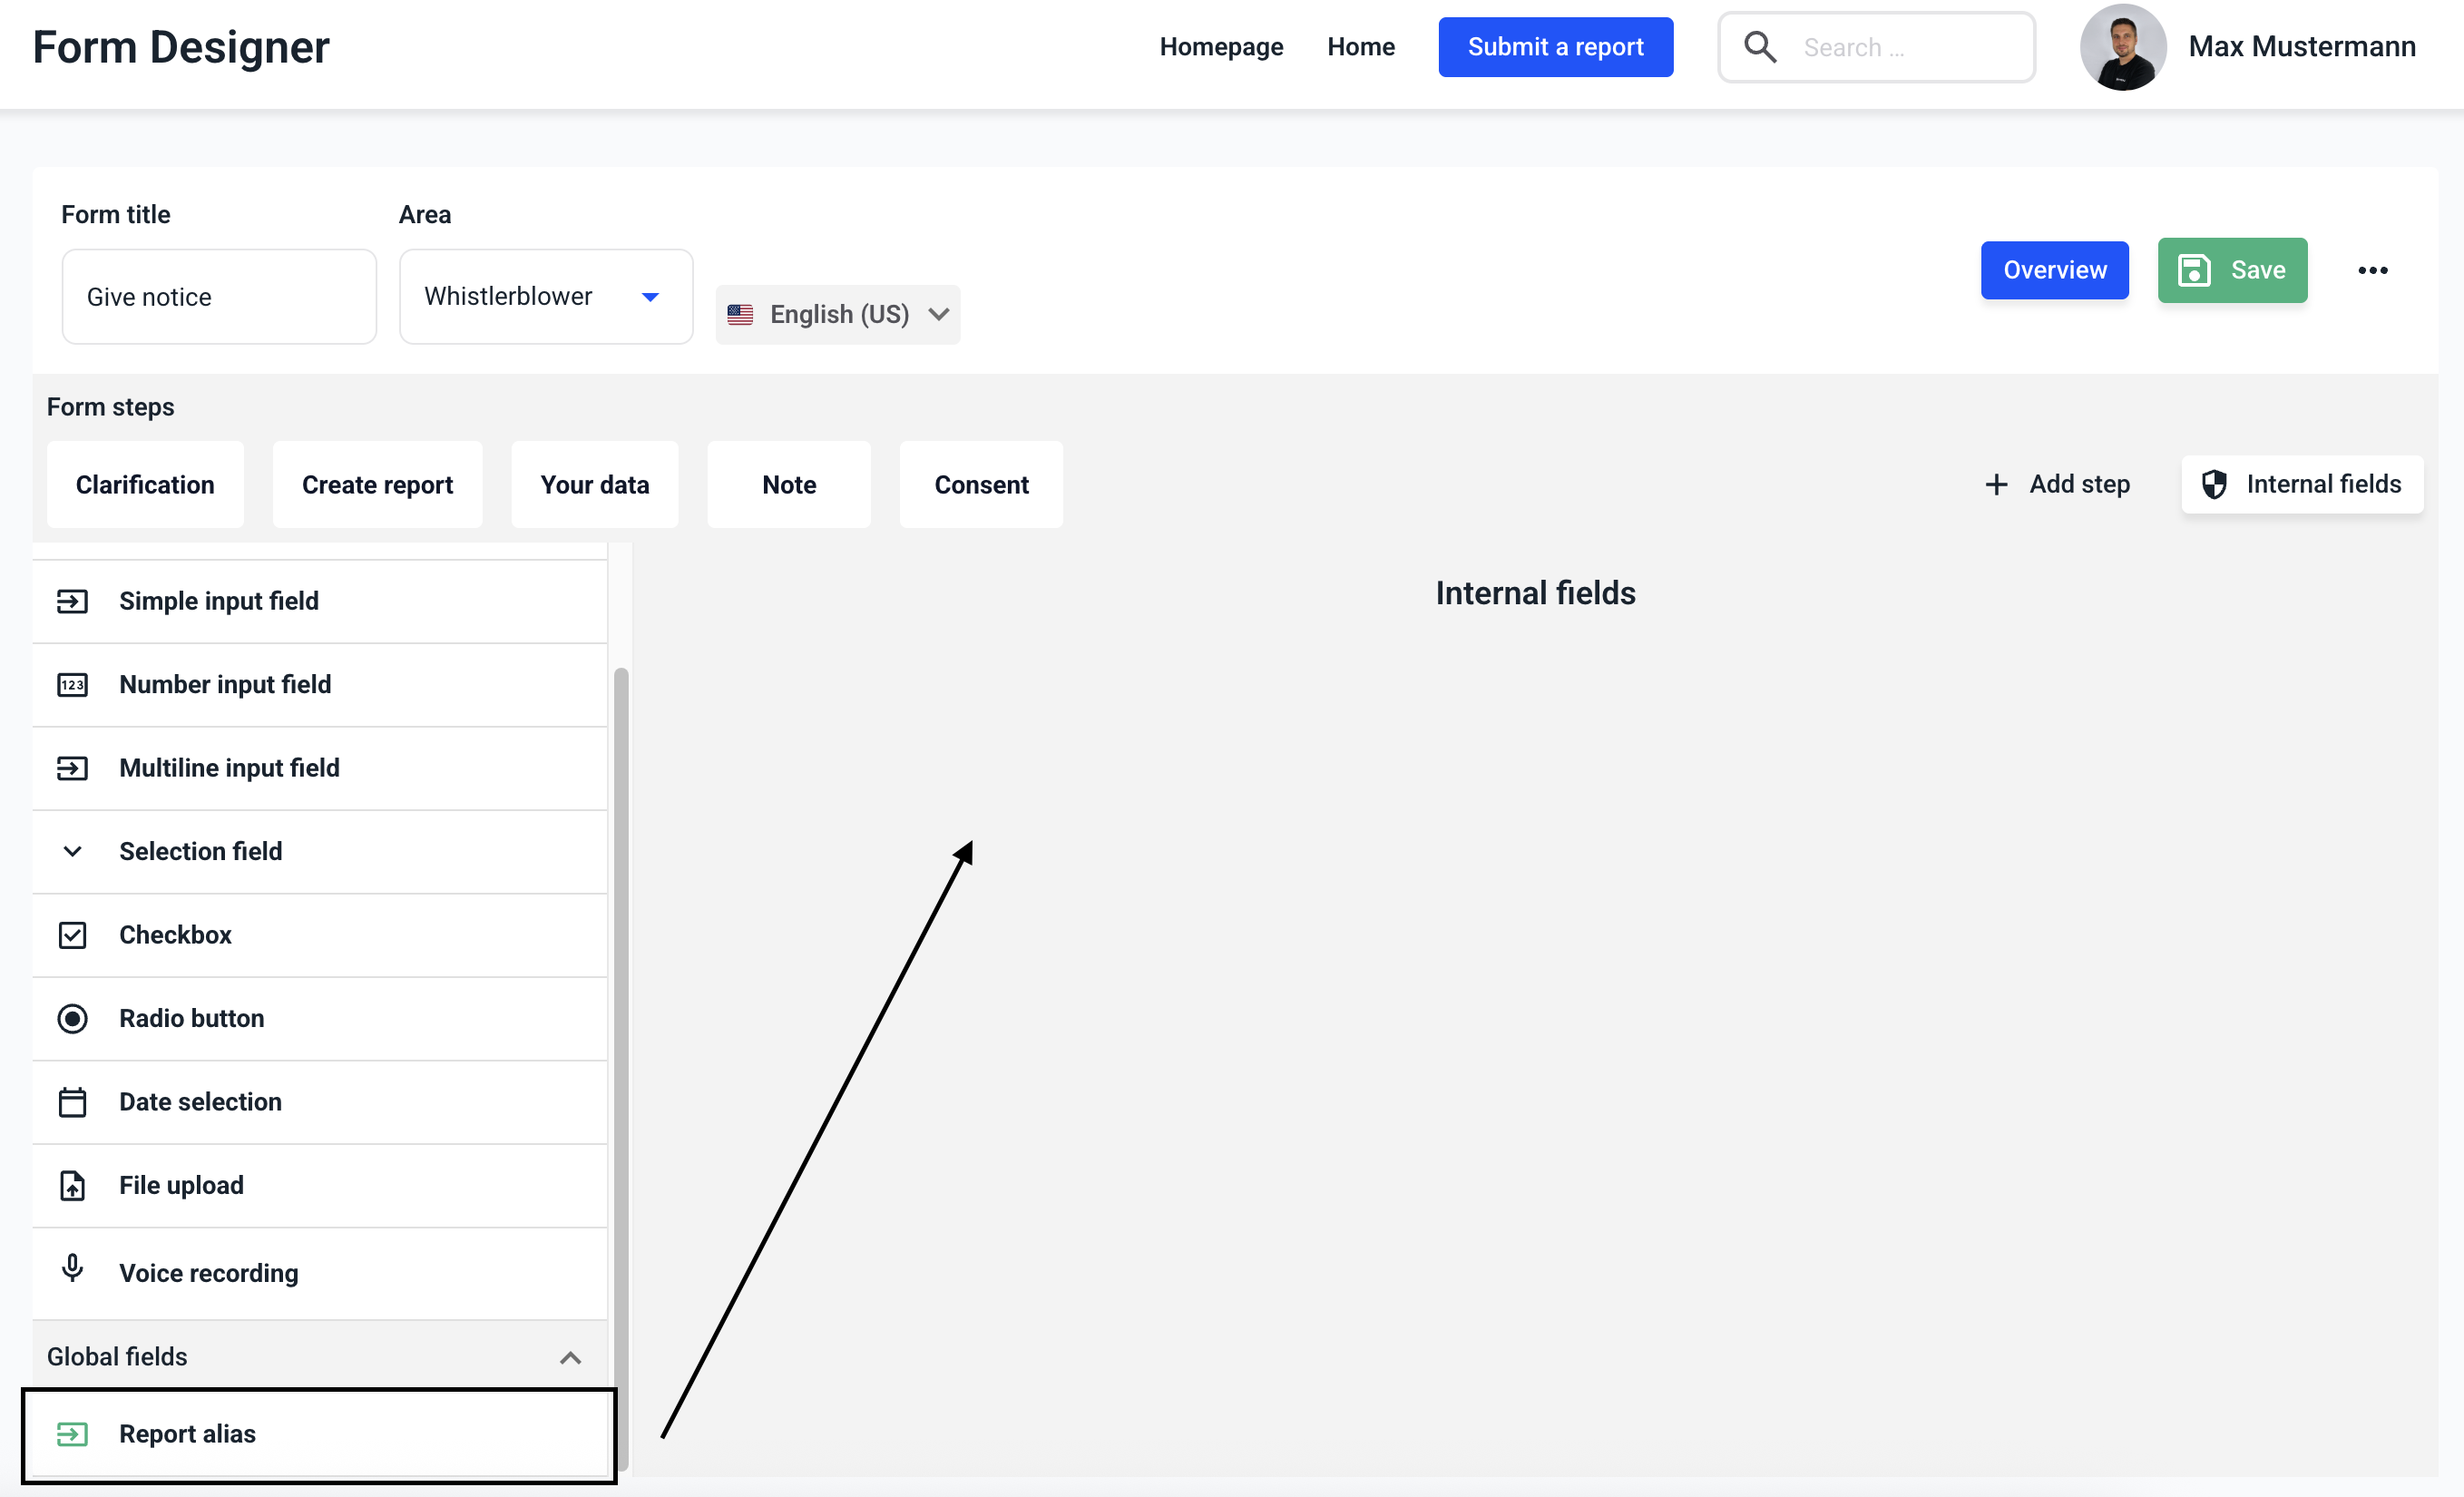
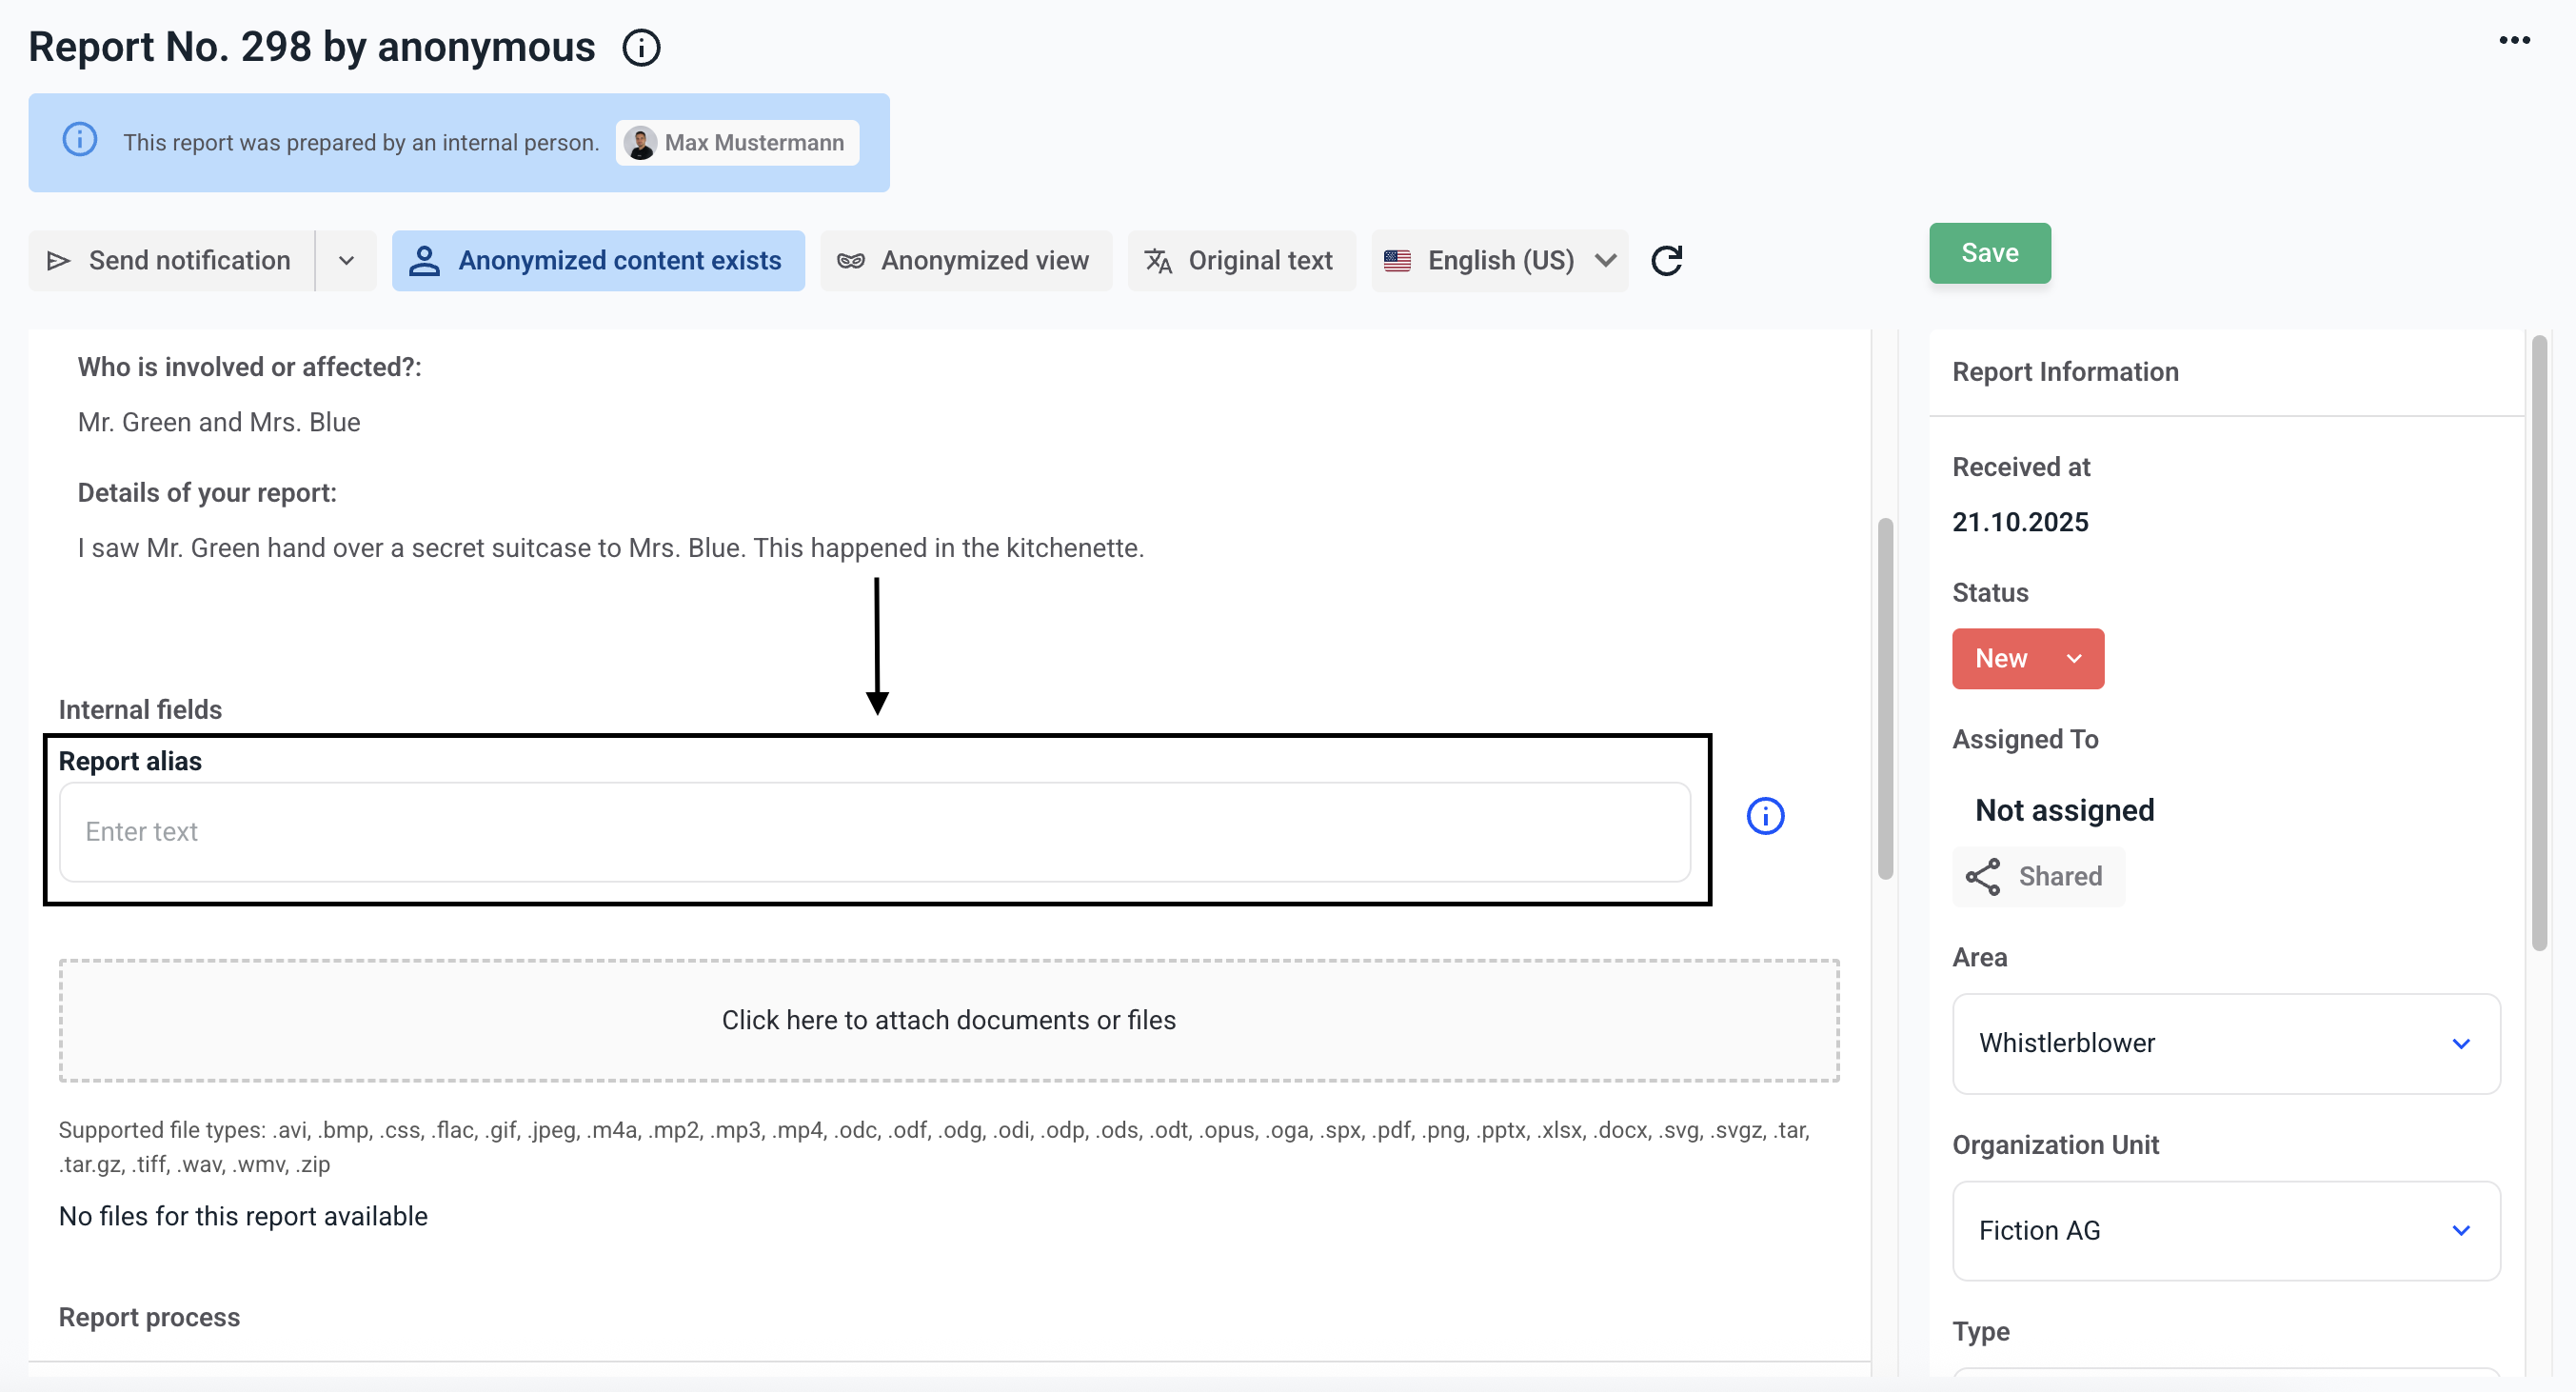
Navigate to the Internal fields step.
Select the Report alias step in the field selection and drag it into the Internal fields field using the mouse.
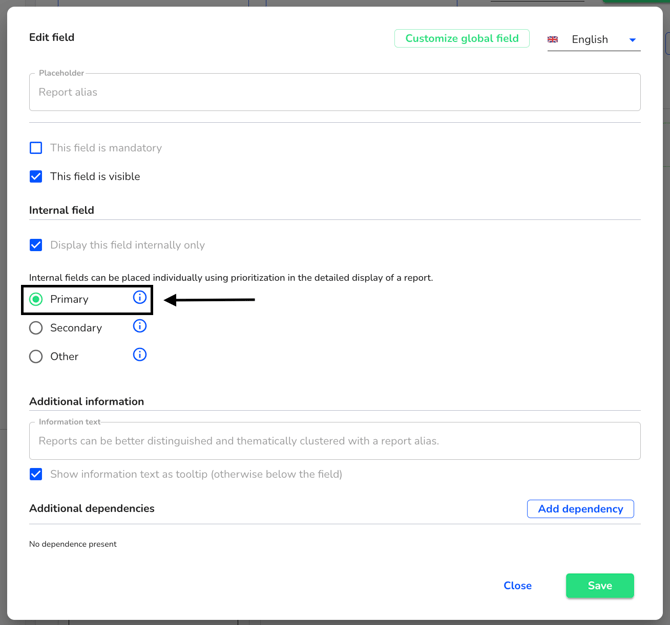
Then click on the editing pencil.

Click on Primary. This step enables the report alias to be output under the report information and on the dashboard.
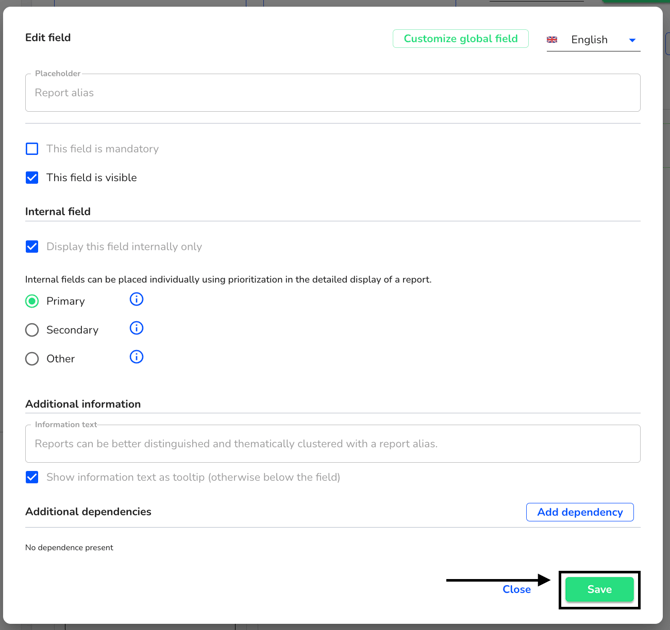
Click on save.
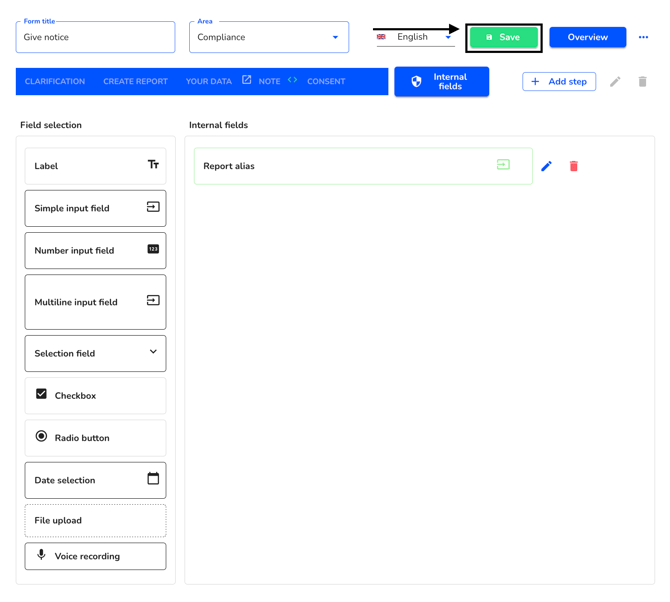
Save the entire form.
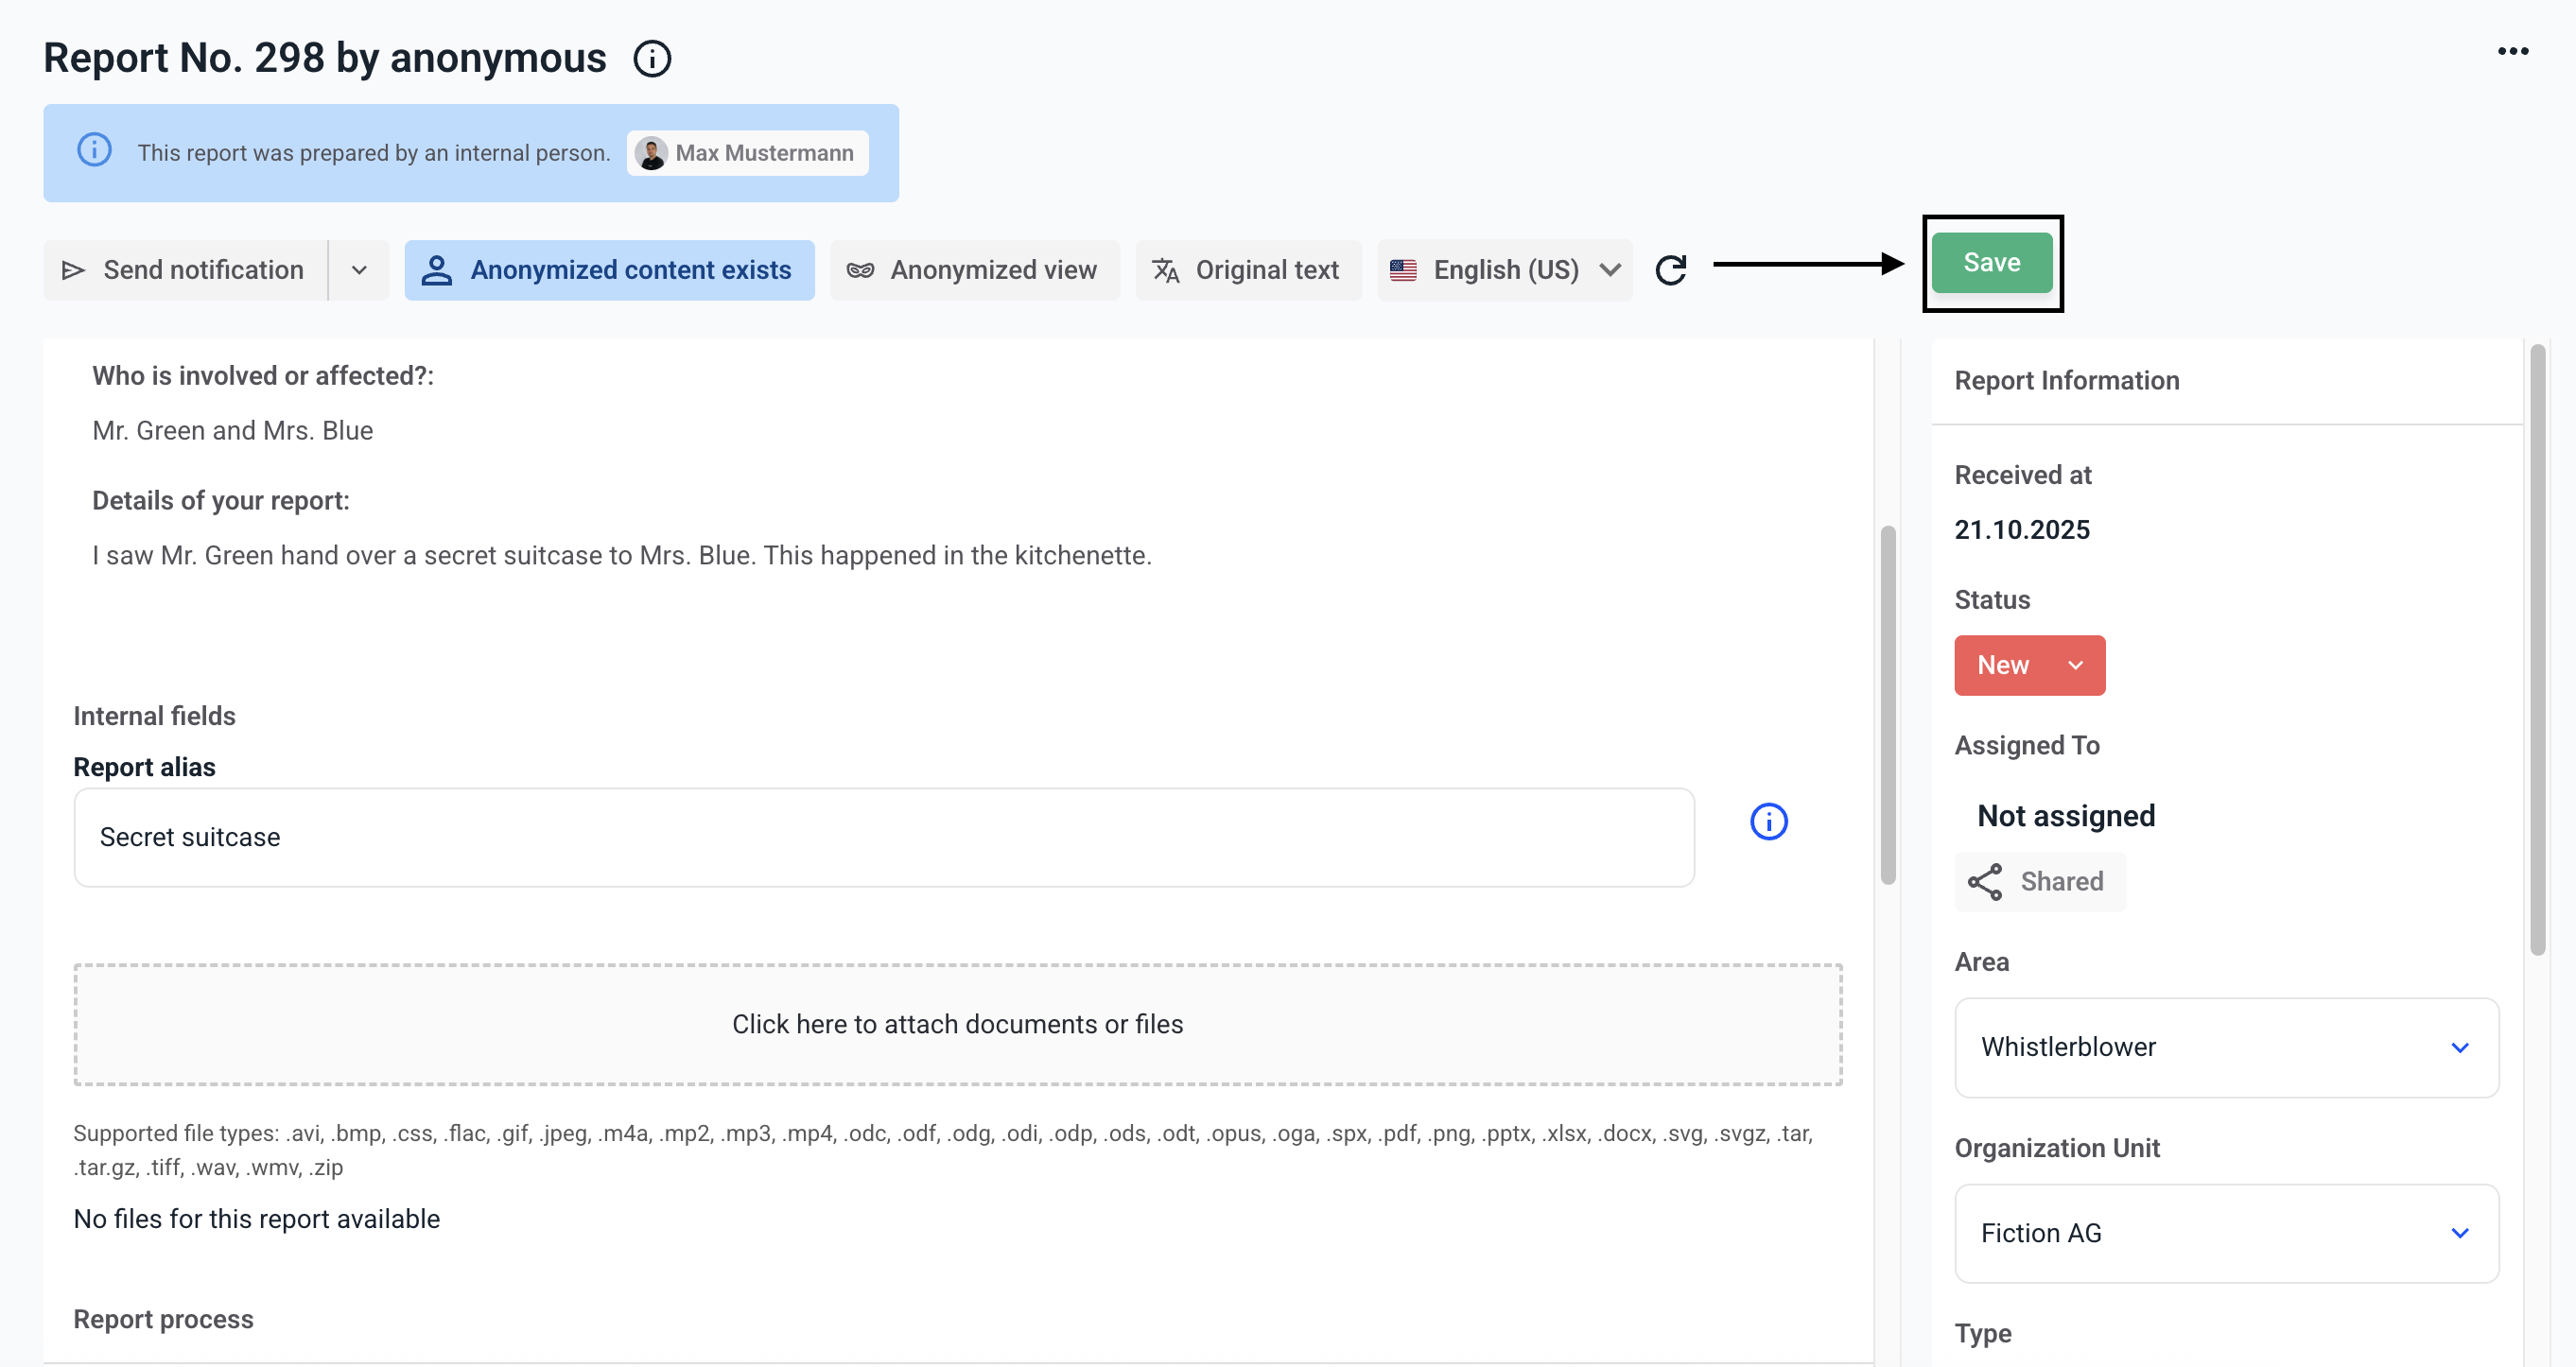
The report alias is displayed under the report information and can be edited there internally.
Save the range alias you have entered.
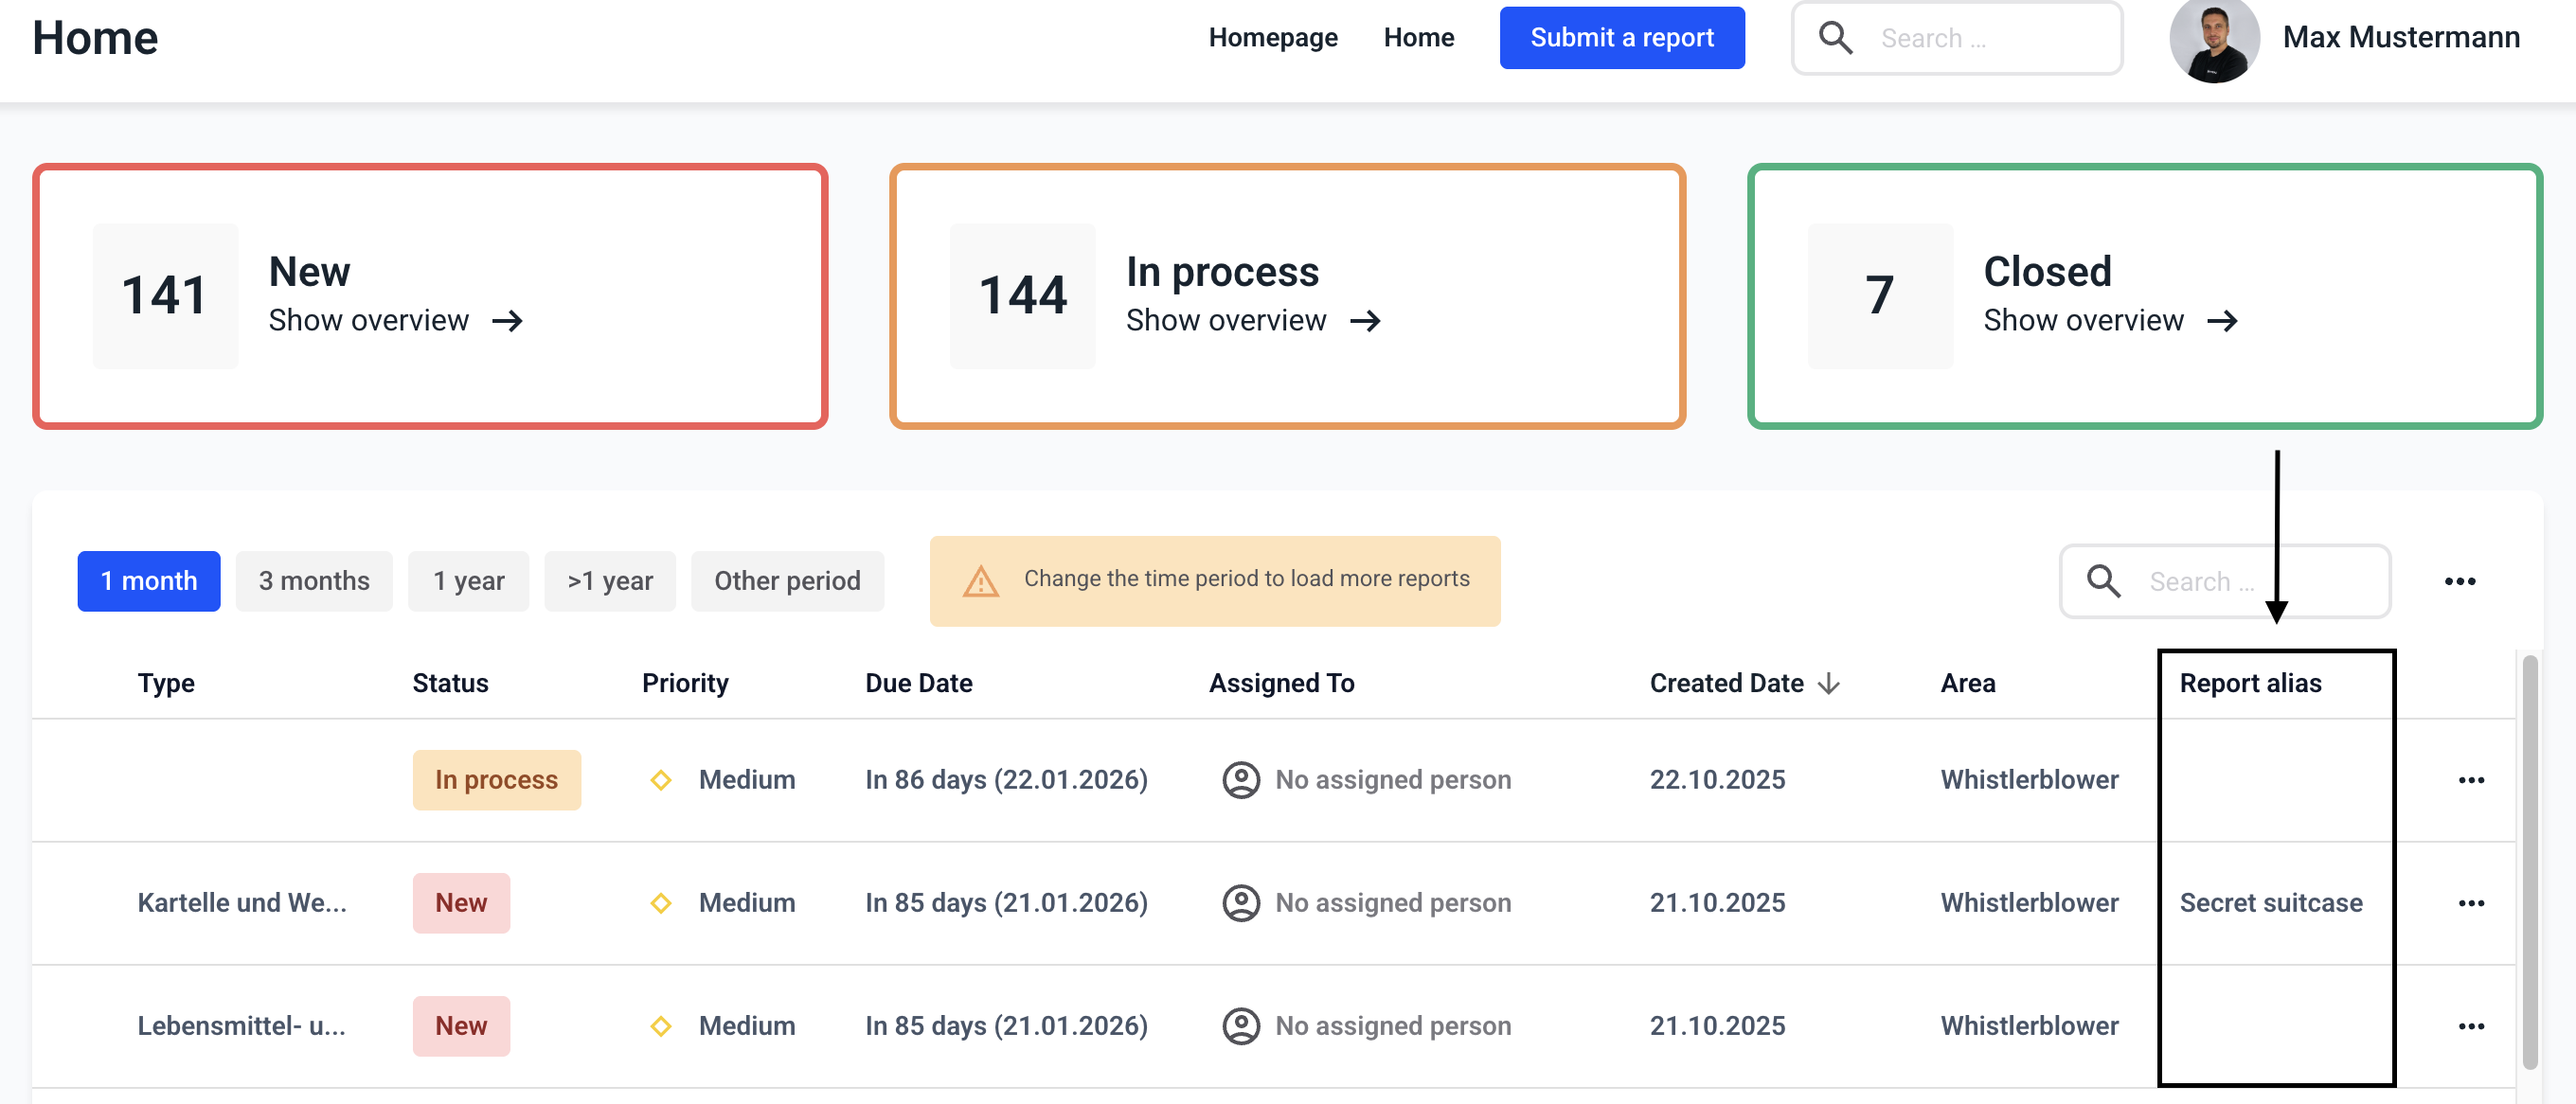
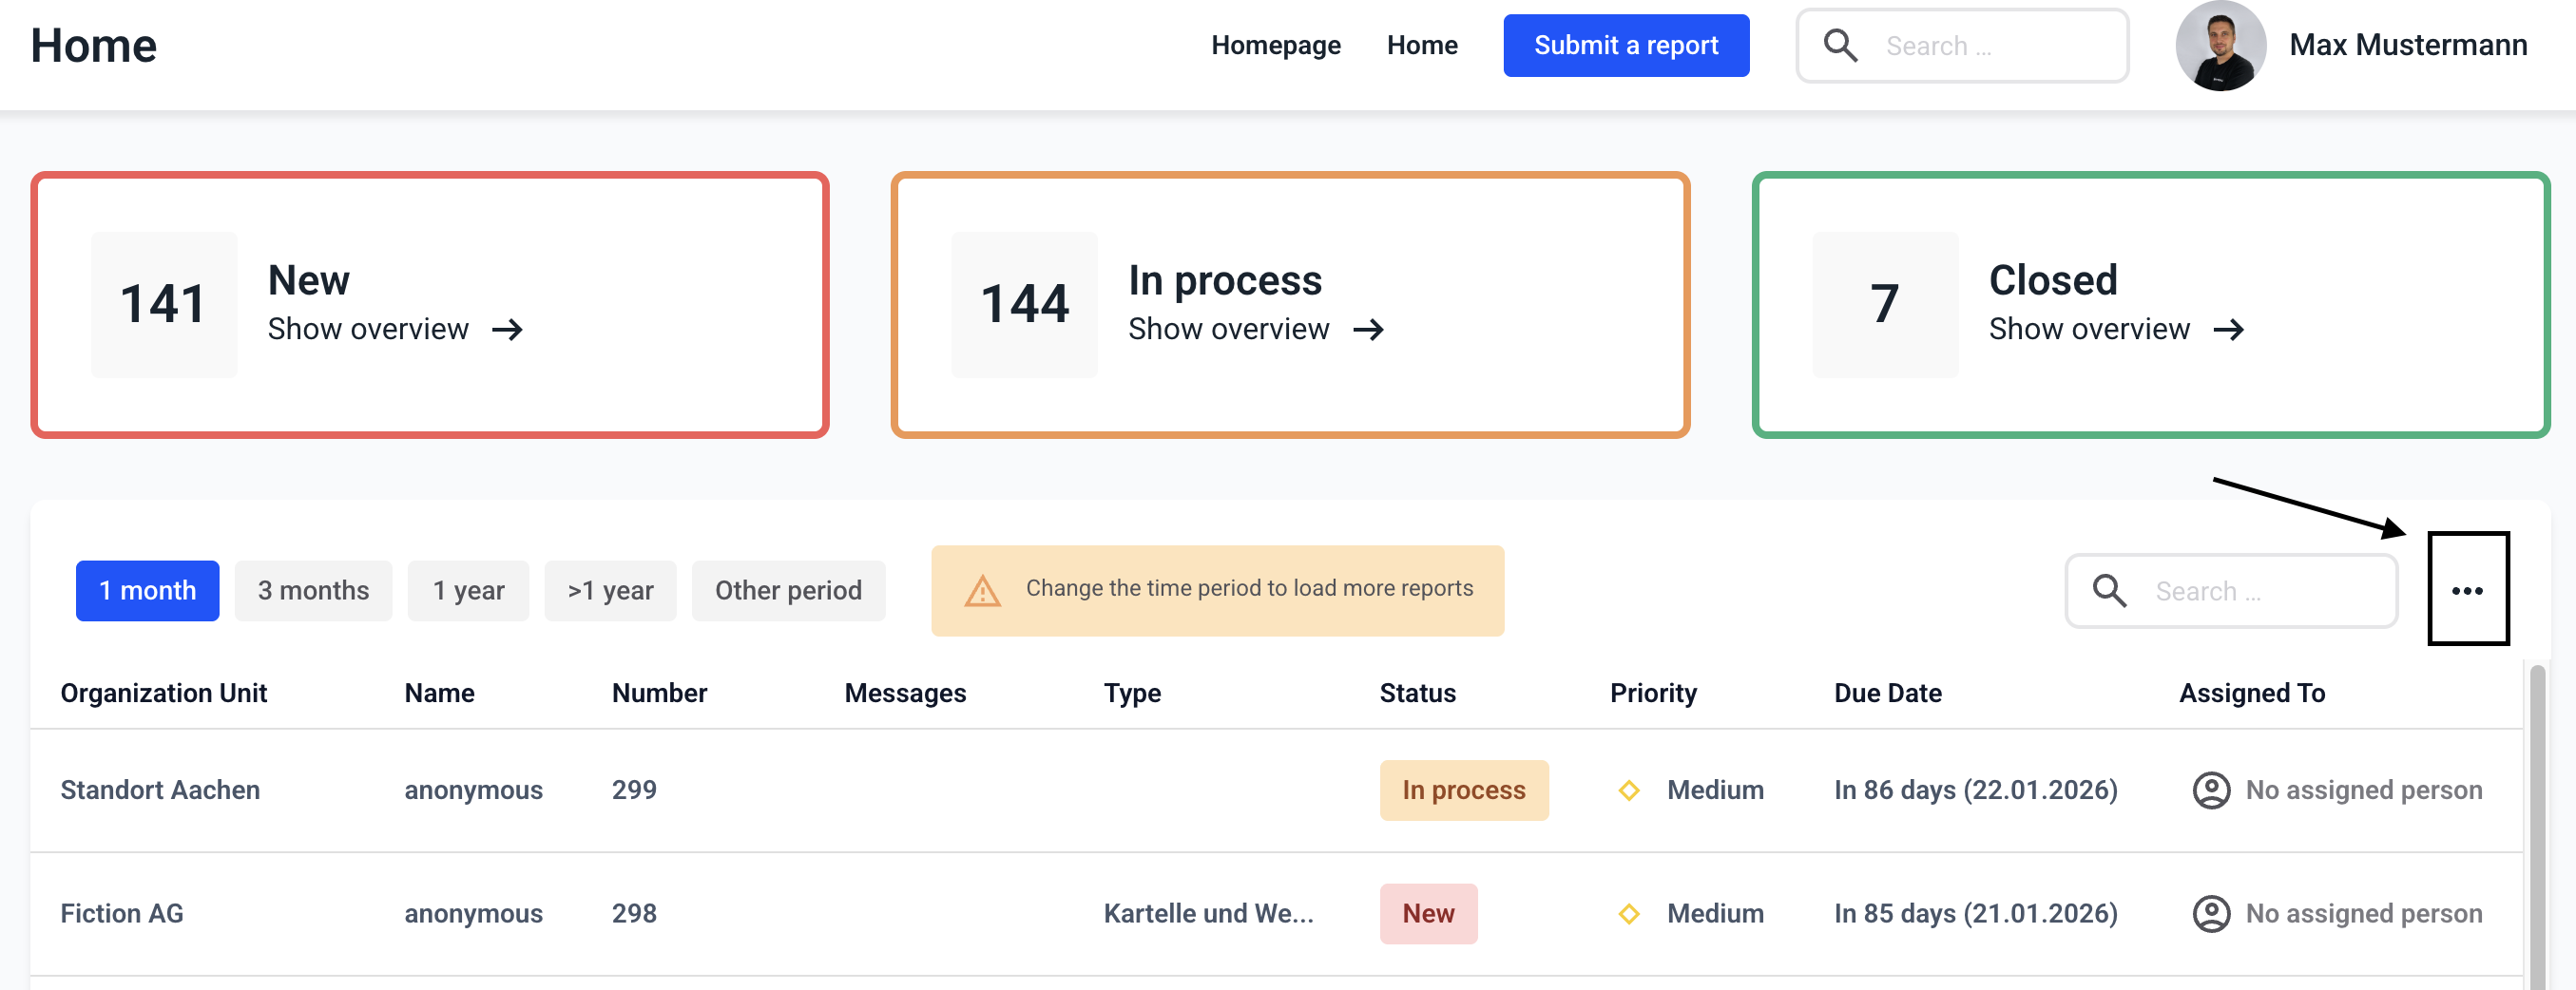
Global fields can optionally be displayed in the dashboard as an additional column. To do this, navigate to the dashboard and click on three dots.
Select the Report alias field and click Ready.
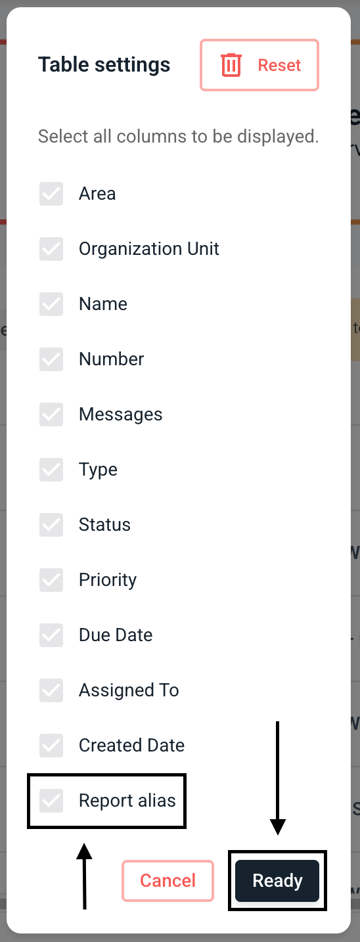
The report alias is displayed as an additional column on the dashboard.