/Lawcode%20Logo%20(White).svg)
Within the interval configuration, start with the following options.
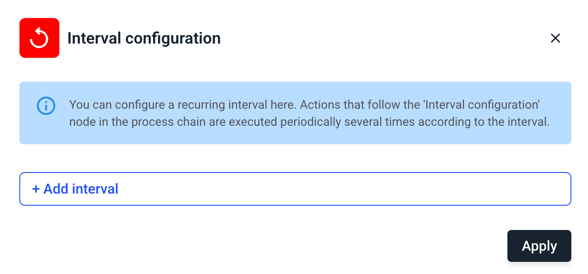
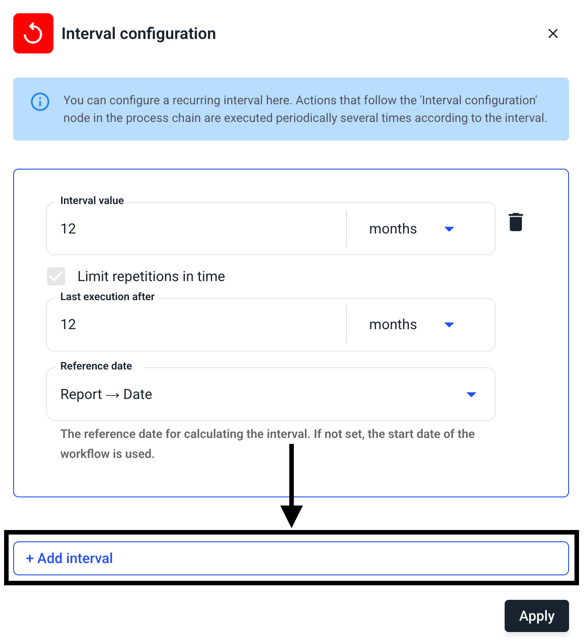
Now click on Add interval to set a time interval.
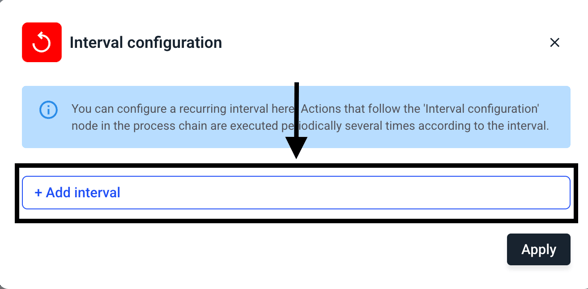
The following window opens with new input options.

First set an interval value by entering a number for the interval value and defining the period more precisely on the right. To do this, click on Days.
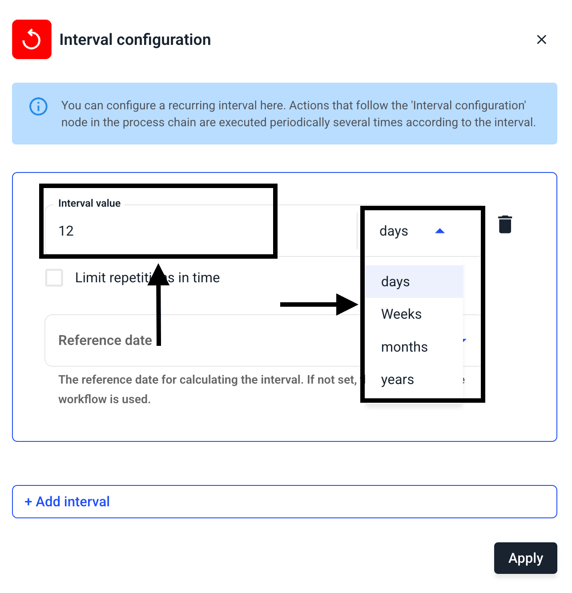
In our example, we will set 12 months as the period.

You can now decide whether the time interval should run permanently for a period of 12 months or whether the interval should expire automatically after a certain period of time. You can activate this function with the checkbox Limit repititions in time.
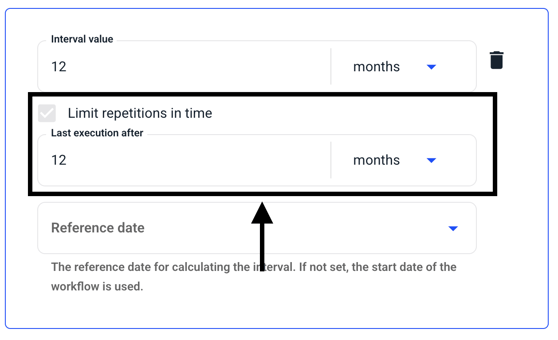
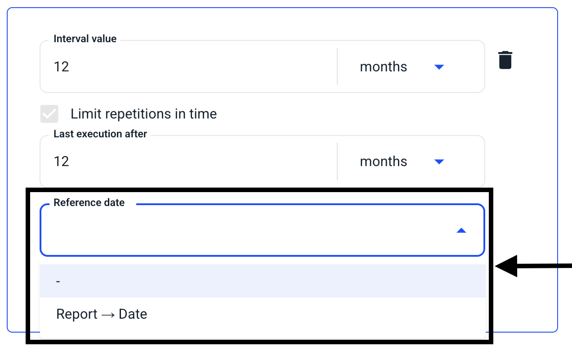
Then set the reference date on which the process is based. Click on Report date to control the process based on the report date.
Here is an example:
If you receive a report on 12.06.25, the interval is based on the date. This means that the interval is triggered on 12.06.26.
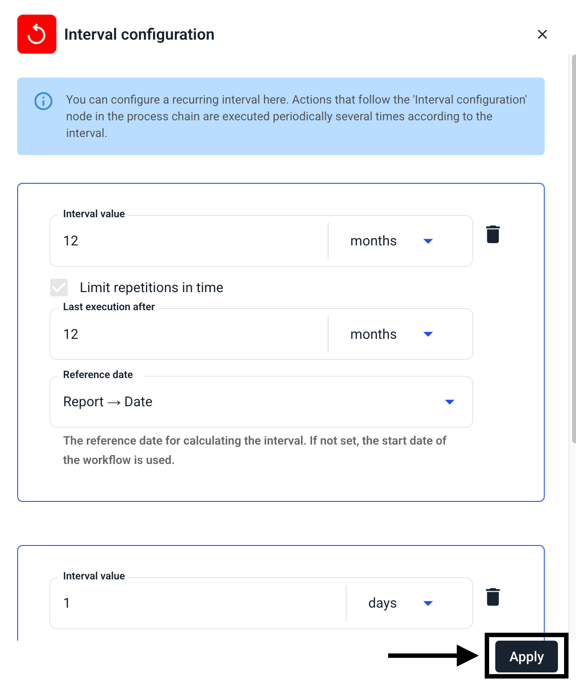
You also have the option of storing different time intervals in the process. If you want to integrate a second time interval, click on Add interval.
You will then receive the same selection criteria and can also fill this in.
Confirm the changes with the Apply button.
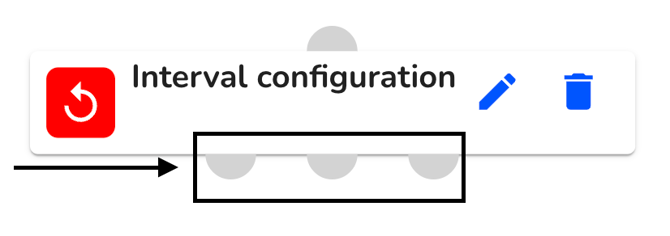
If you have entered several time intervals, additional nodes will appear for the element in the overview.
Tip:
This gives you the option of making various e-mail dispatch settings. For example, you can set a manager to receive a notification after 12 months, while an administrator is only reminded of the deletion deadline every 24 months.